SETTING UP YOUR WORKSPACE
GETTING STARTED WITH CHATGPT Business
INTRODUCING CHATGPT BUSINESS
(Formerly ChatGPT Team)
Elevate Your Team’s Performance with ChatGPT Business
Your ChatGPT Business subscription includes:
Unlimited GPT-5 messages, with generous access to GPT-5 thinking, and access to GPT-5 pro—plus the flexibility to add credits as needed
A secure, dedicated workspace with essential admin controls, SOC 2 Type 2, SAML SSO, and MFA
Data privacy: Your business data is excluded from training by default and encrypted at rest and in transit
Connect internal sources for more personalized answers—connect Google Drive, SharePoint, GitHub, Dropbox, and more
Business-ready tools including data analysis, canvas, shared projects, tasks, record mode, and custom GPTs
Built-in agents like deep research and Codex that can reason across your documents, tools, and codebases
A directory with 60+ apps that bring your tools and data into ChatGPT—like Slack, Google Drive, SharePoint, GitHub, Atlassian, and more.
i highly recommend that your team uses chatgpt team because the free and plus versions do not offer the level of data security and ip protection that chatgpt Business does.
PLEASE NOTE: 2+ users minimum
A$45 per user / month billed monthly
You can setup your account now and allocate the second account at a later date.
I recommend monthly billing, so you can switch it off if you decided to migrate to a different platform later.
Learn more about data privacy here or visit OpenAI Trust Portal
ARE YOU READY TO GET STARTED?
FOLLOW THE STEP-BY-STEP INSTRUCTIONS BELOW
Create your ChatGPT Business Workspace
STEP 1: Go to Chatgpt.com
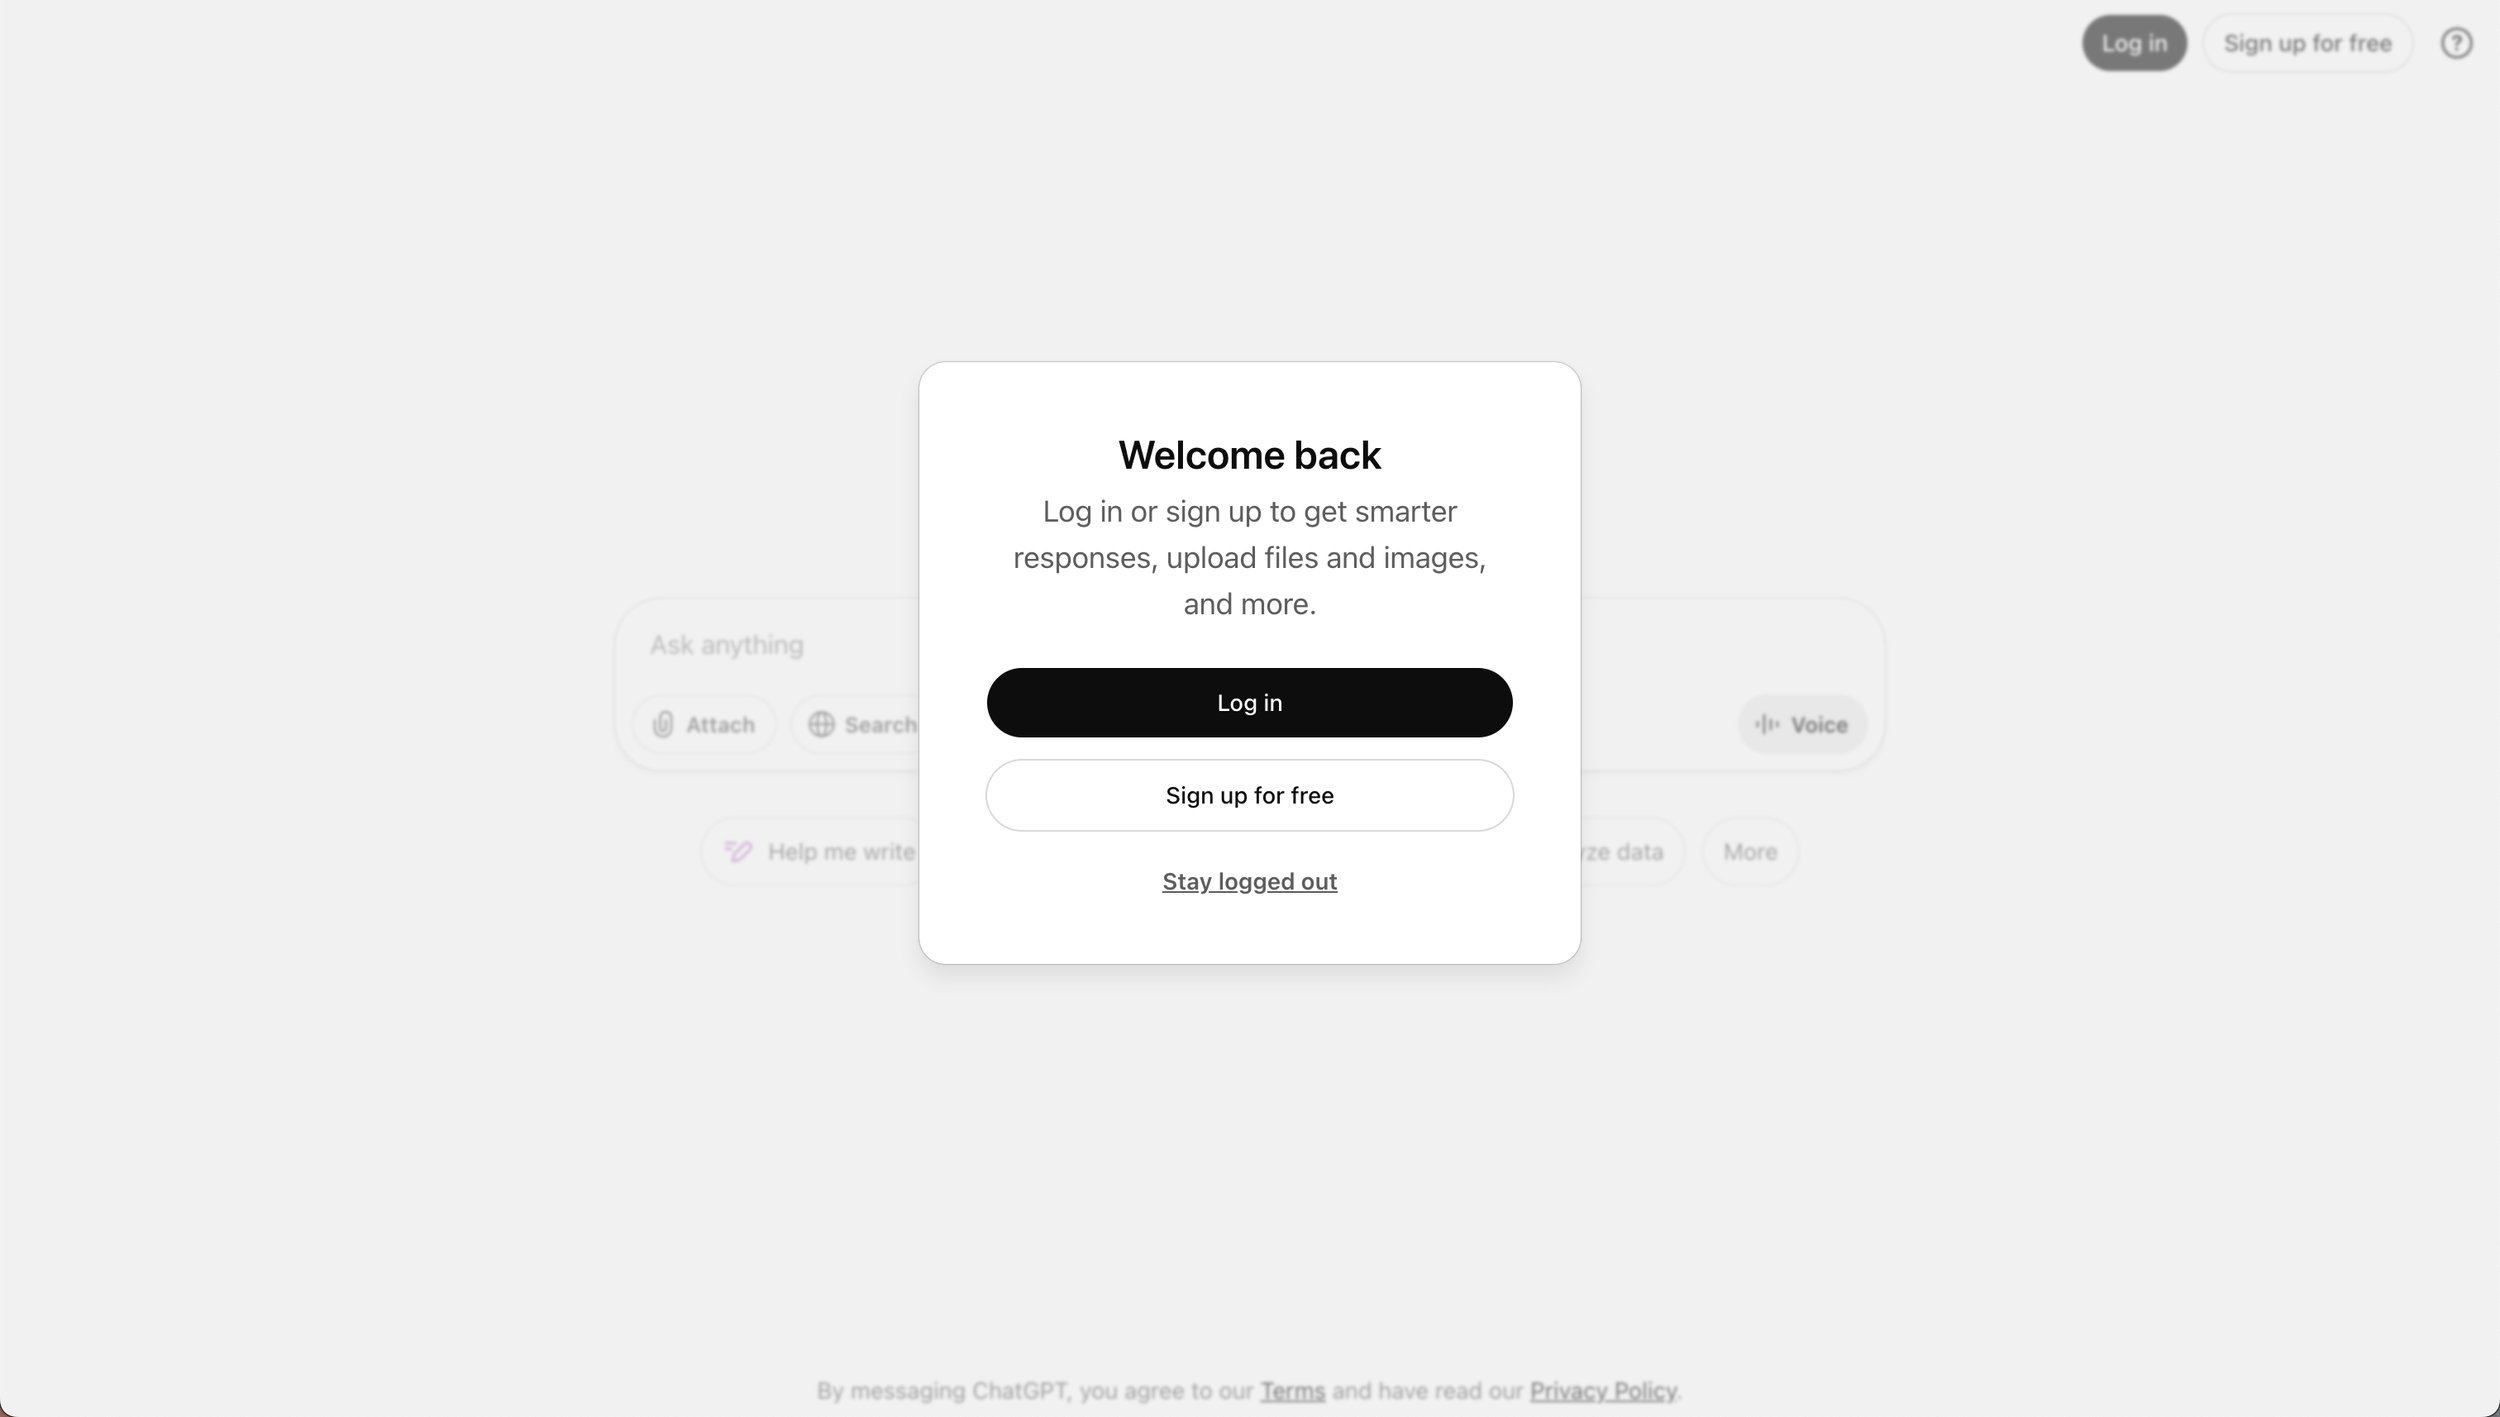
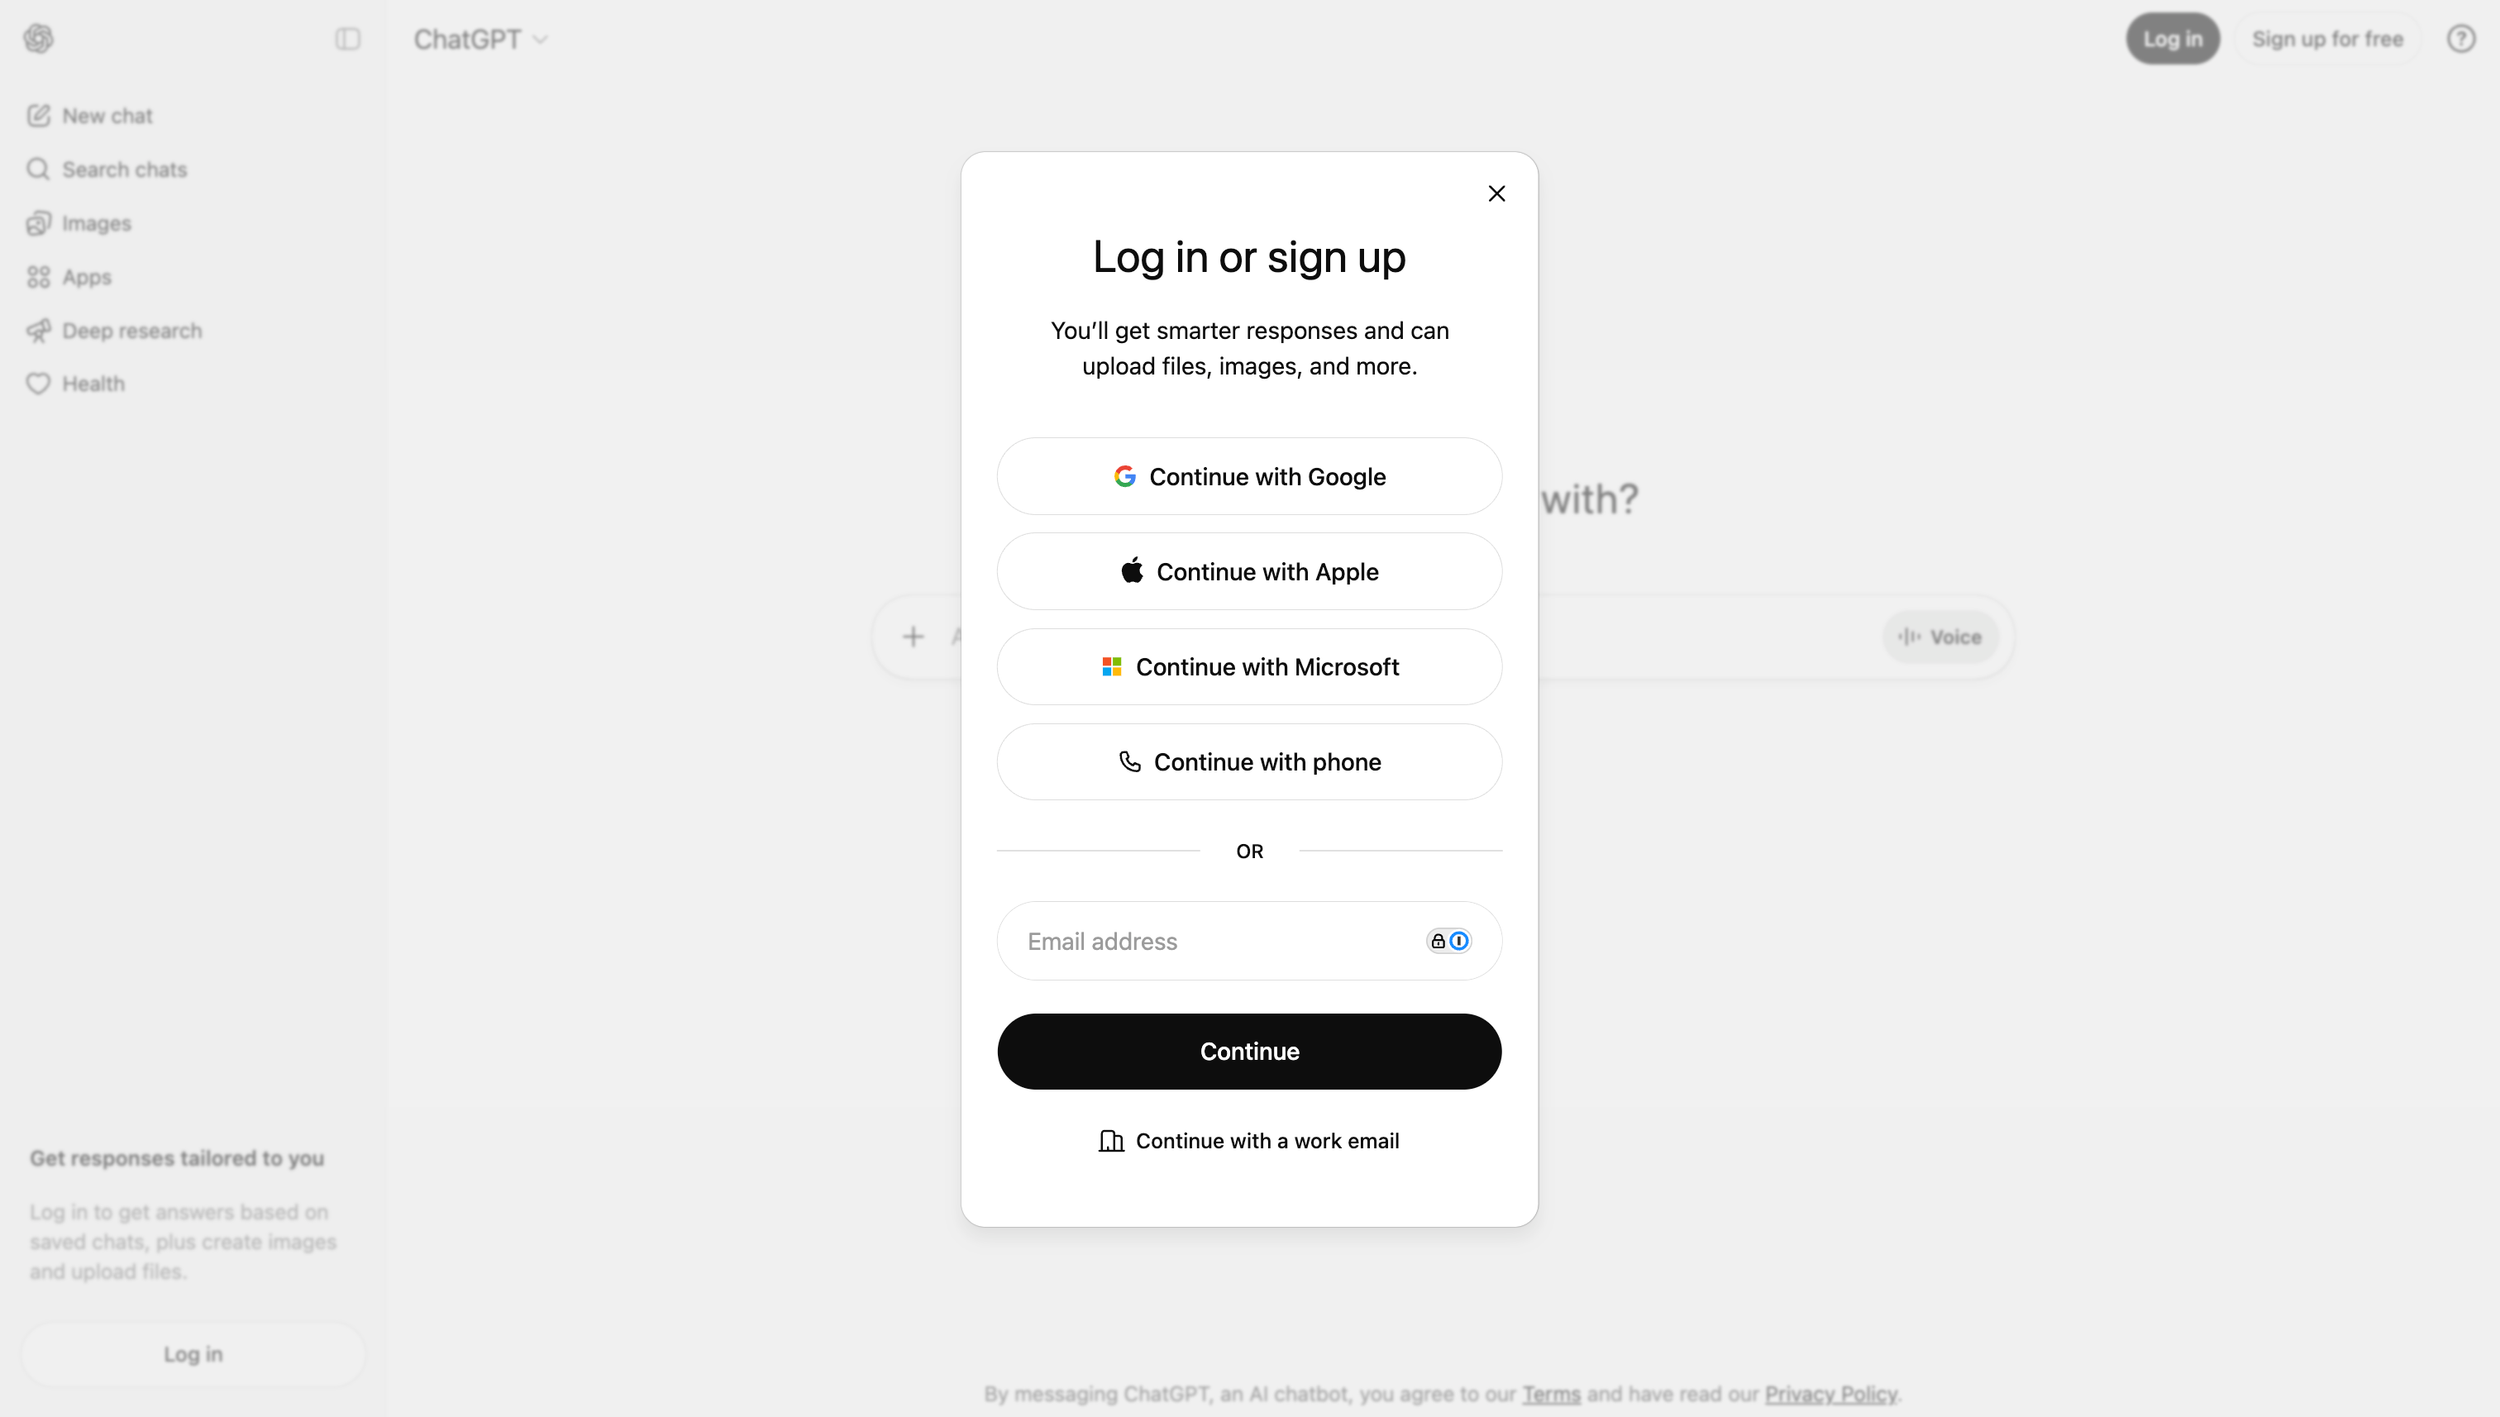
STEP 2: Create a new chatgpt account with your work email address
If you are already logged in with your personal account, log out first and creeate a new account with your work email address.
If you already have an account with your work email address, please go to the next step.
STEP 3: Go to the menu in the bottom left corner and click ‘Upgrade Plan’

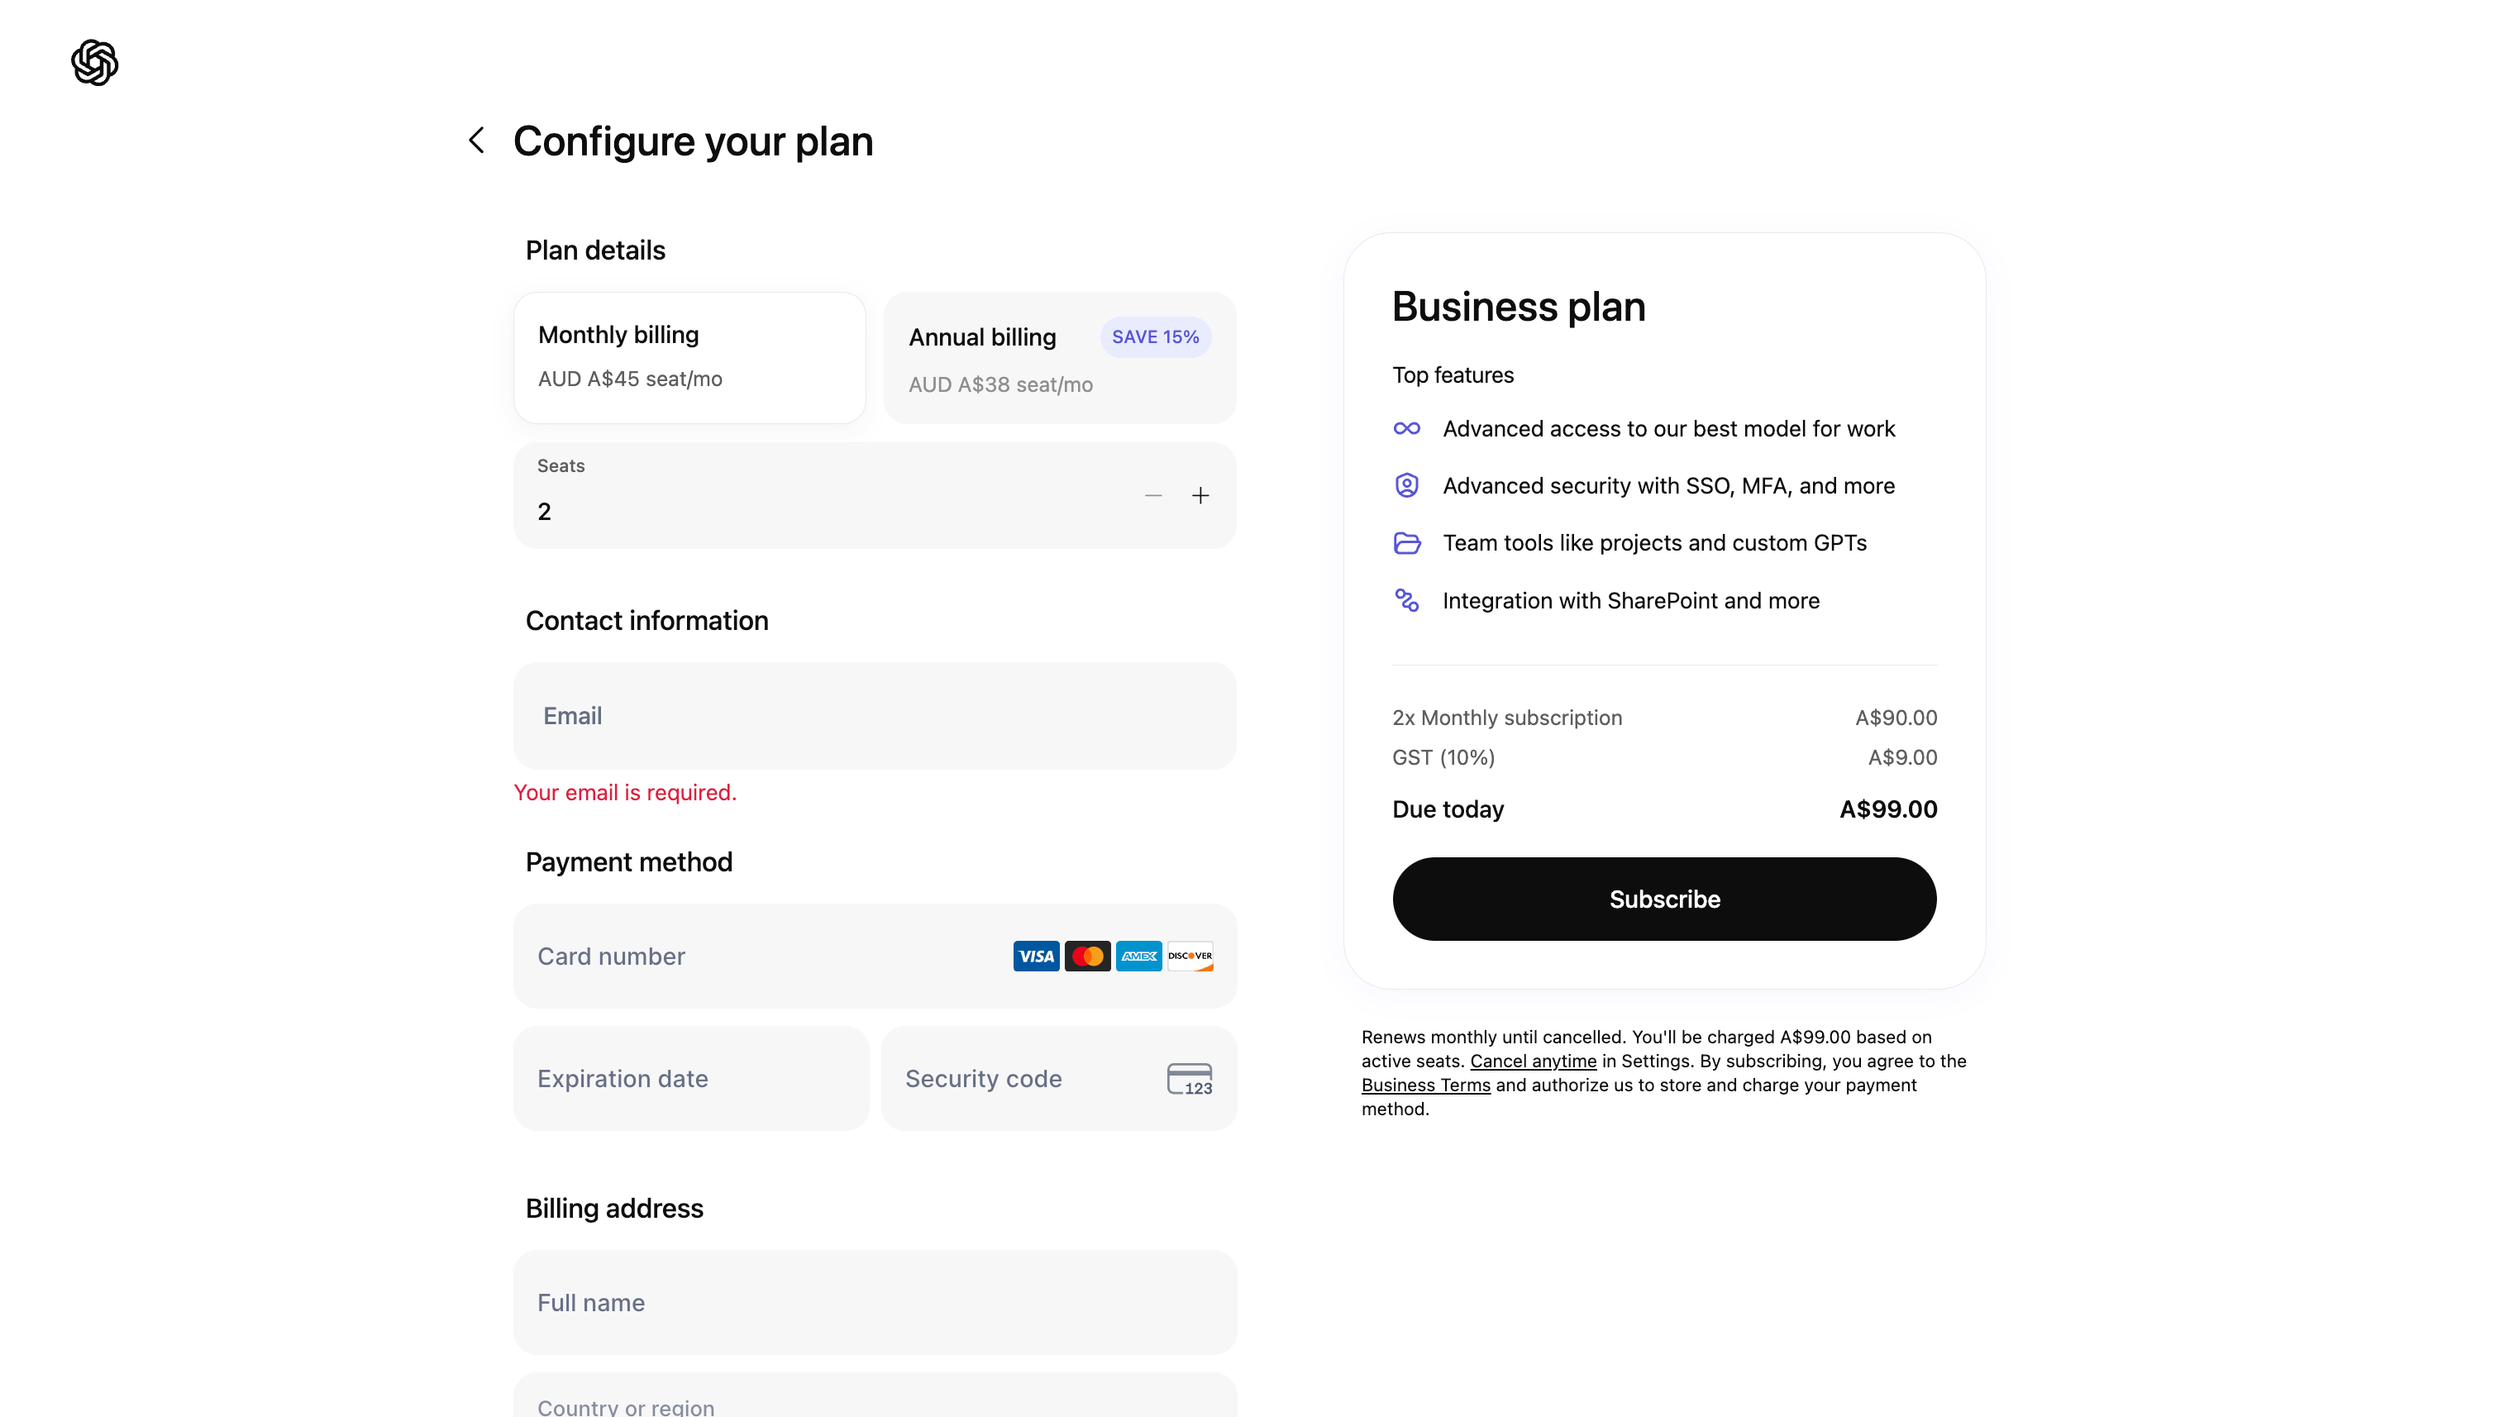
STEP 4: Select ‘Business’ tab at the top of the page and click ‘Get Business’
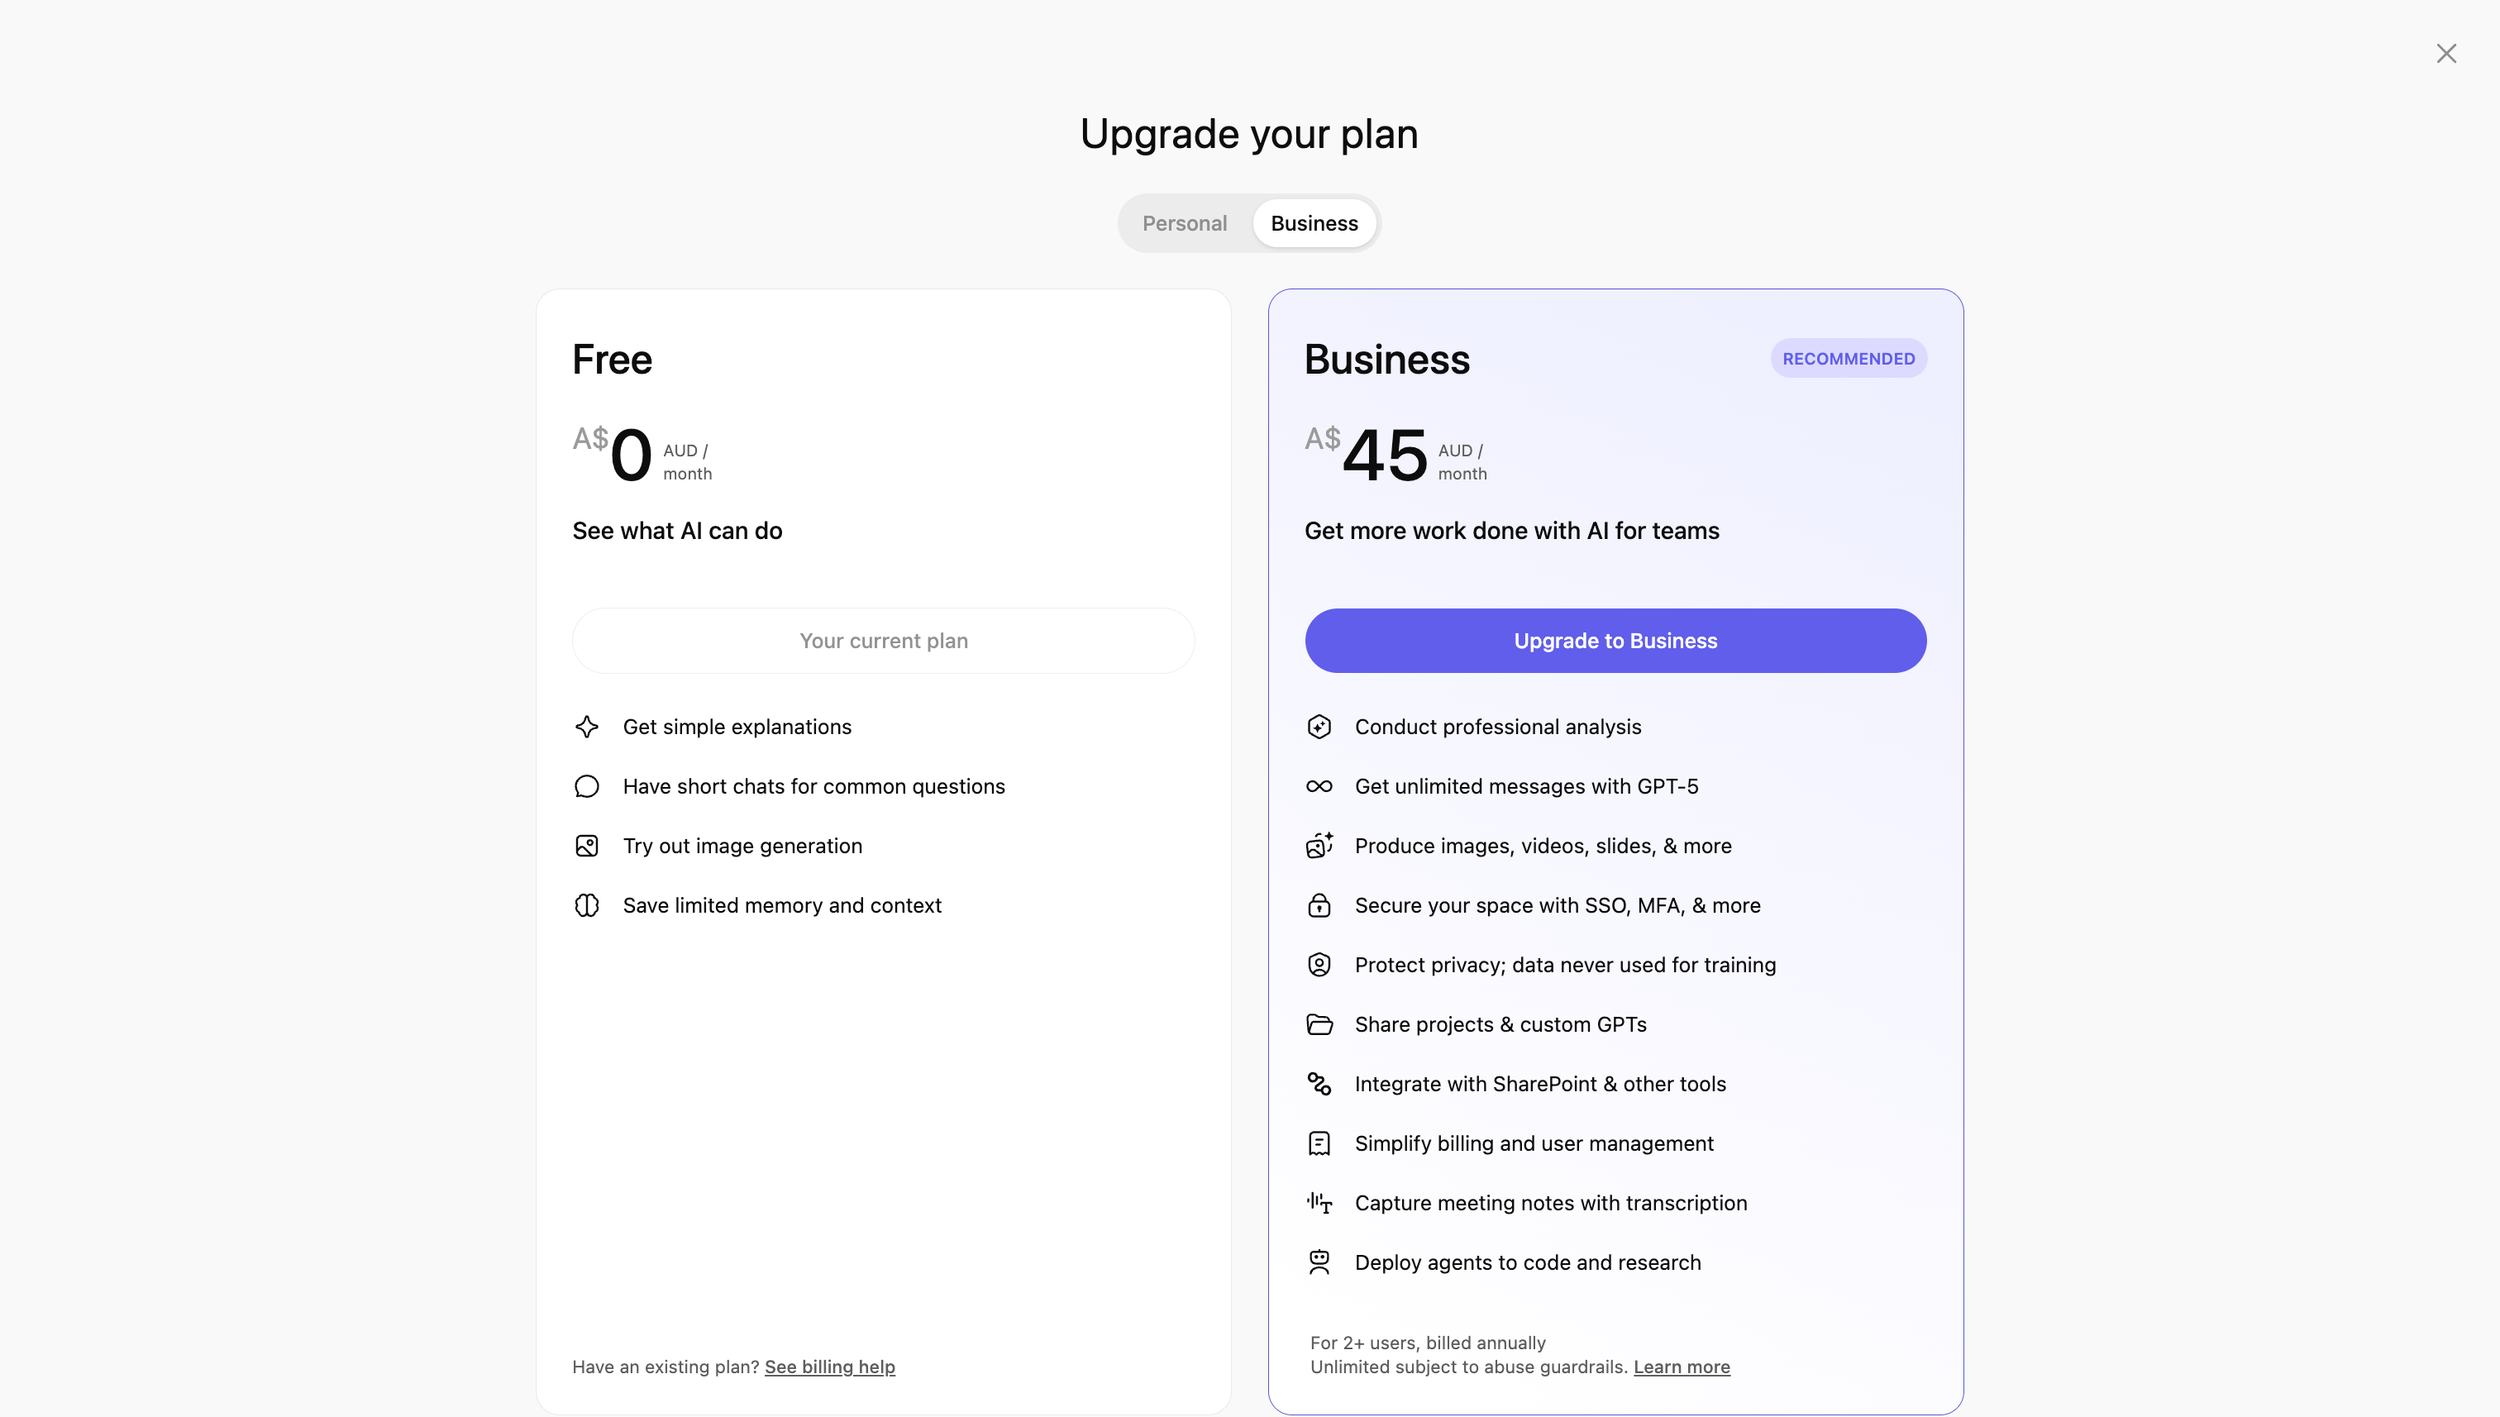
STEP 5: Choose the number of Users you would like to sign up
There is a minimum of 2 users. You can add more later.
I recommend using monthly billing to allow you to cost-effectively add or remove users as your team changes.
Click ‘Subscribe’.
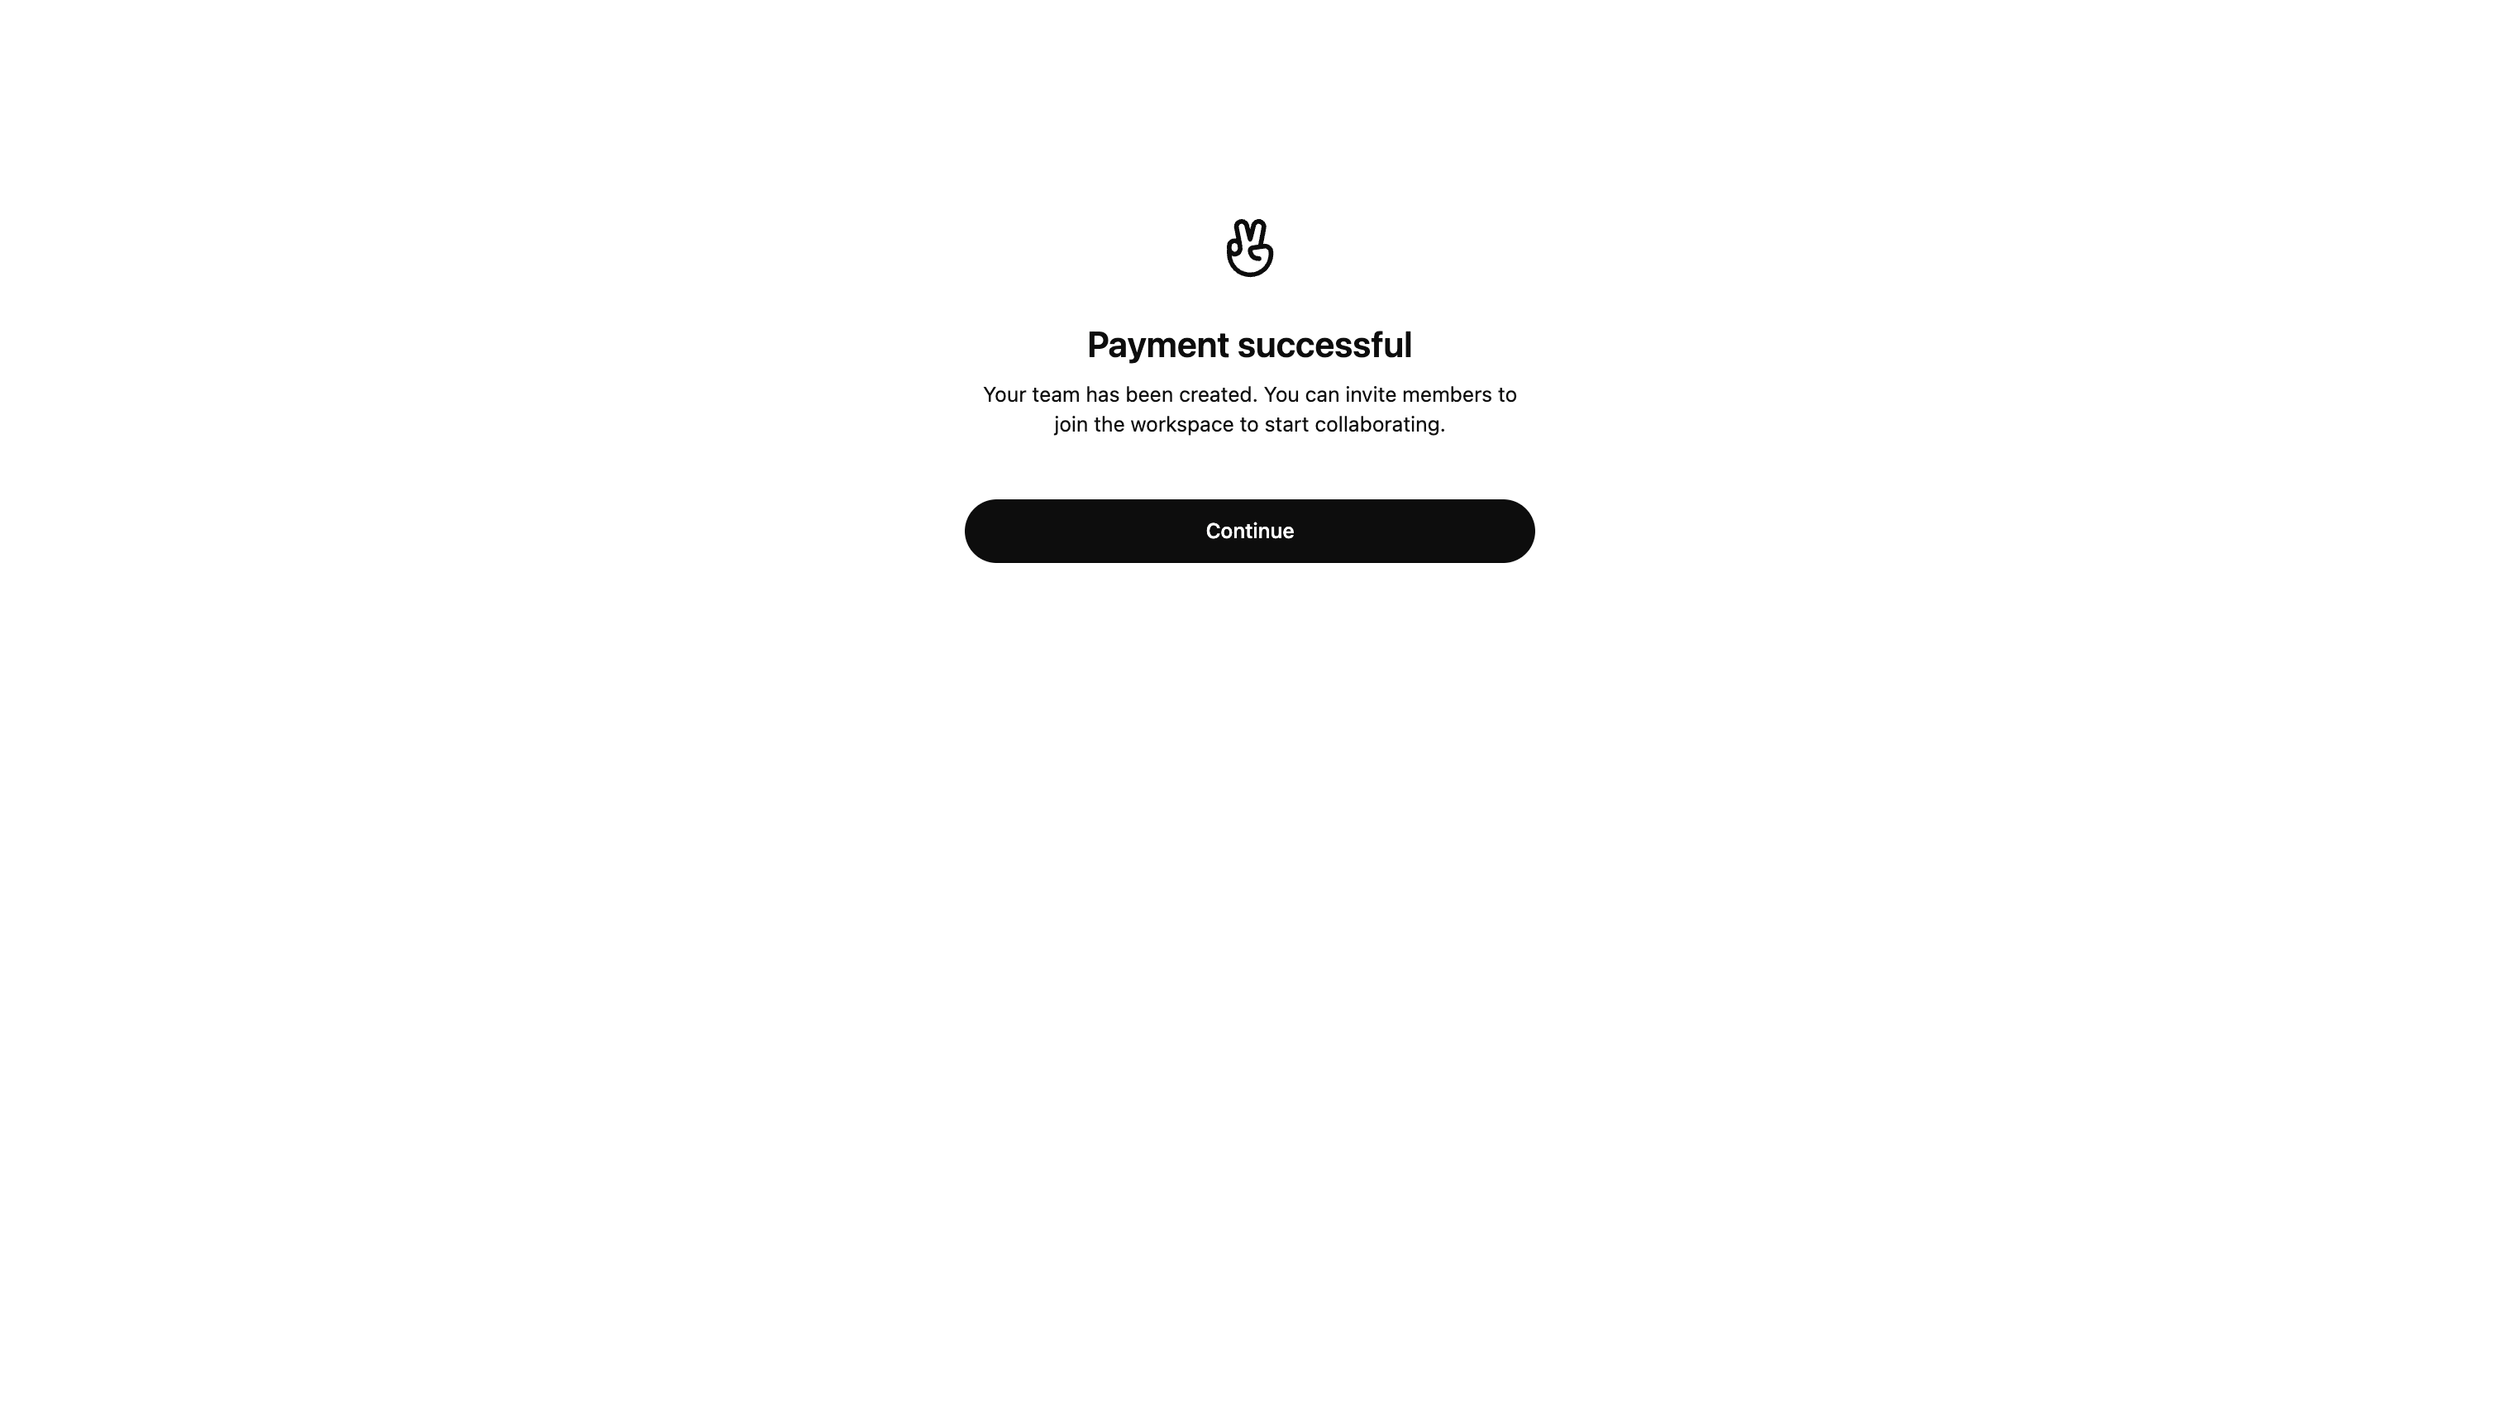
STEP 6: Do a little success dance
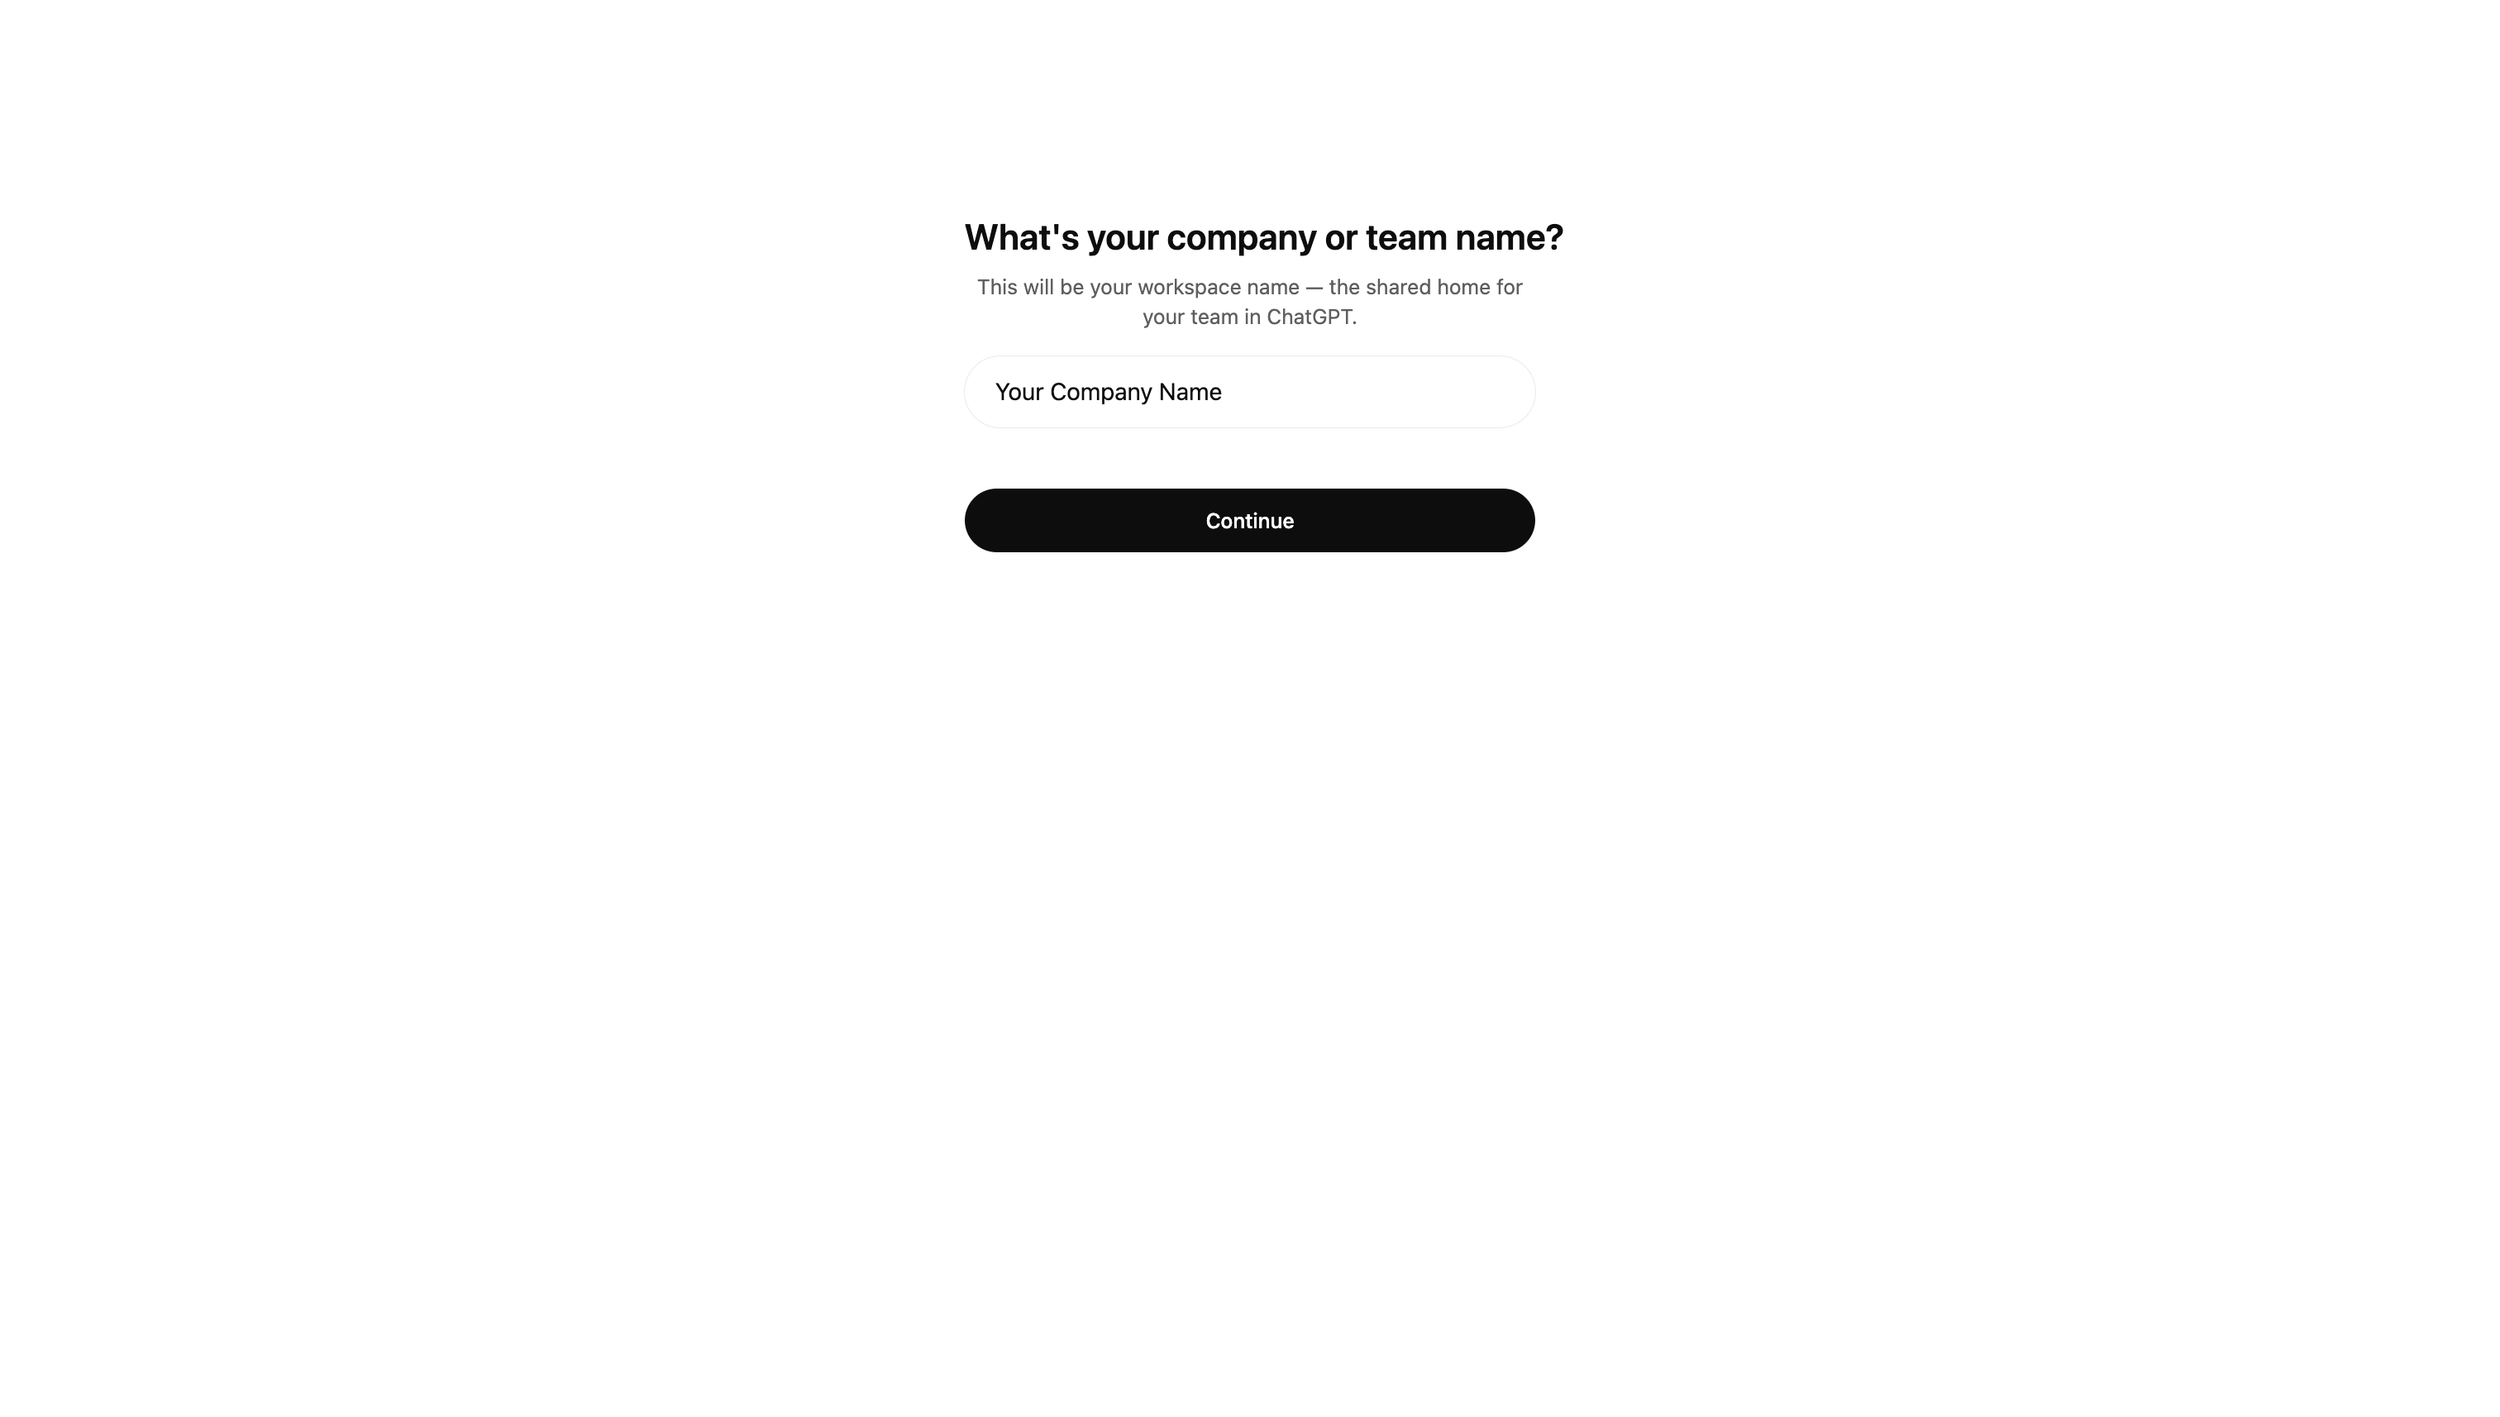
STEP 7: Enter your business name that you want your team to see
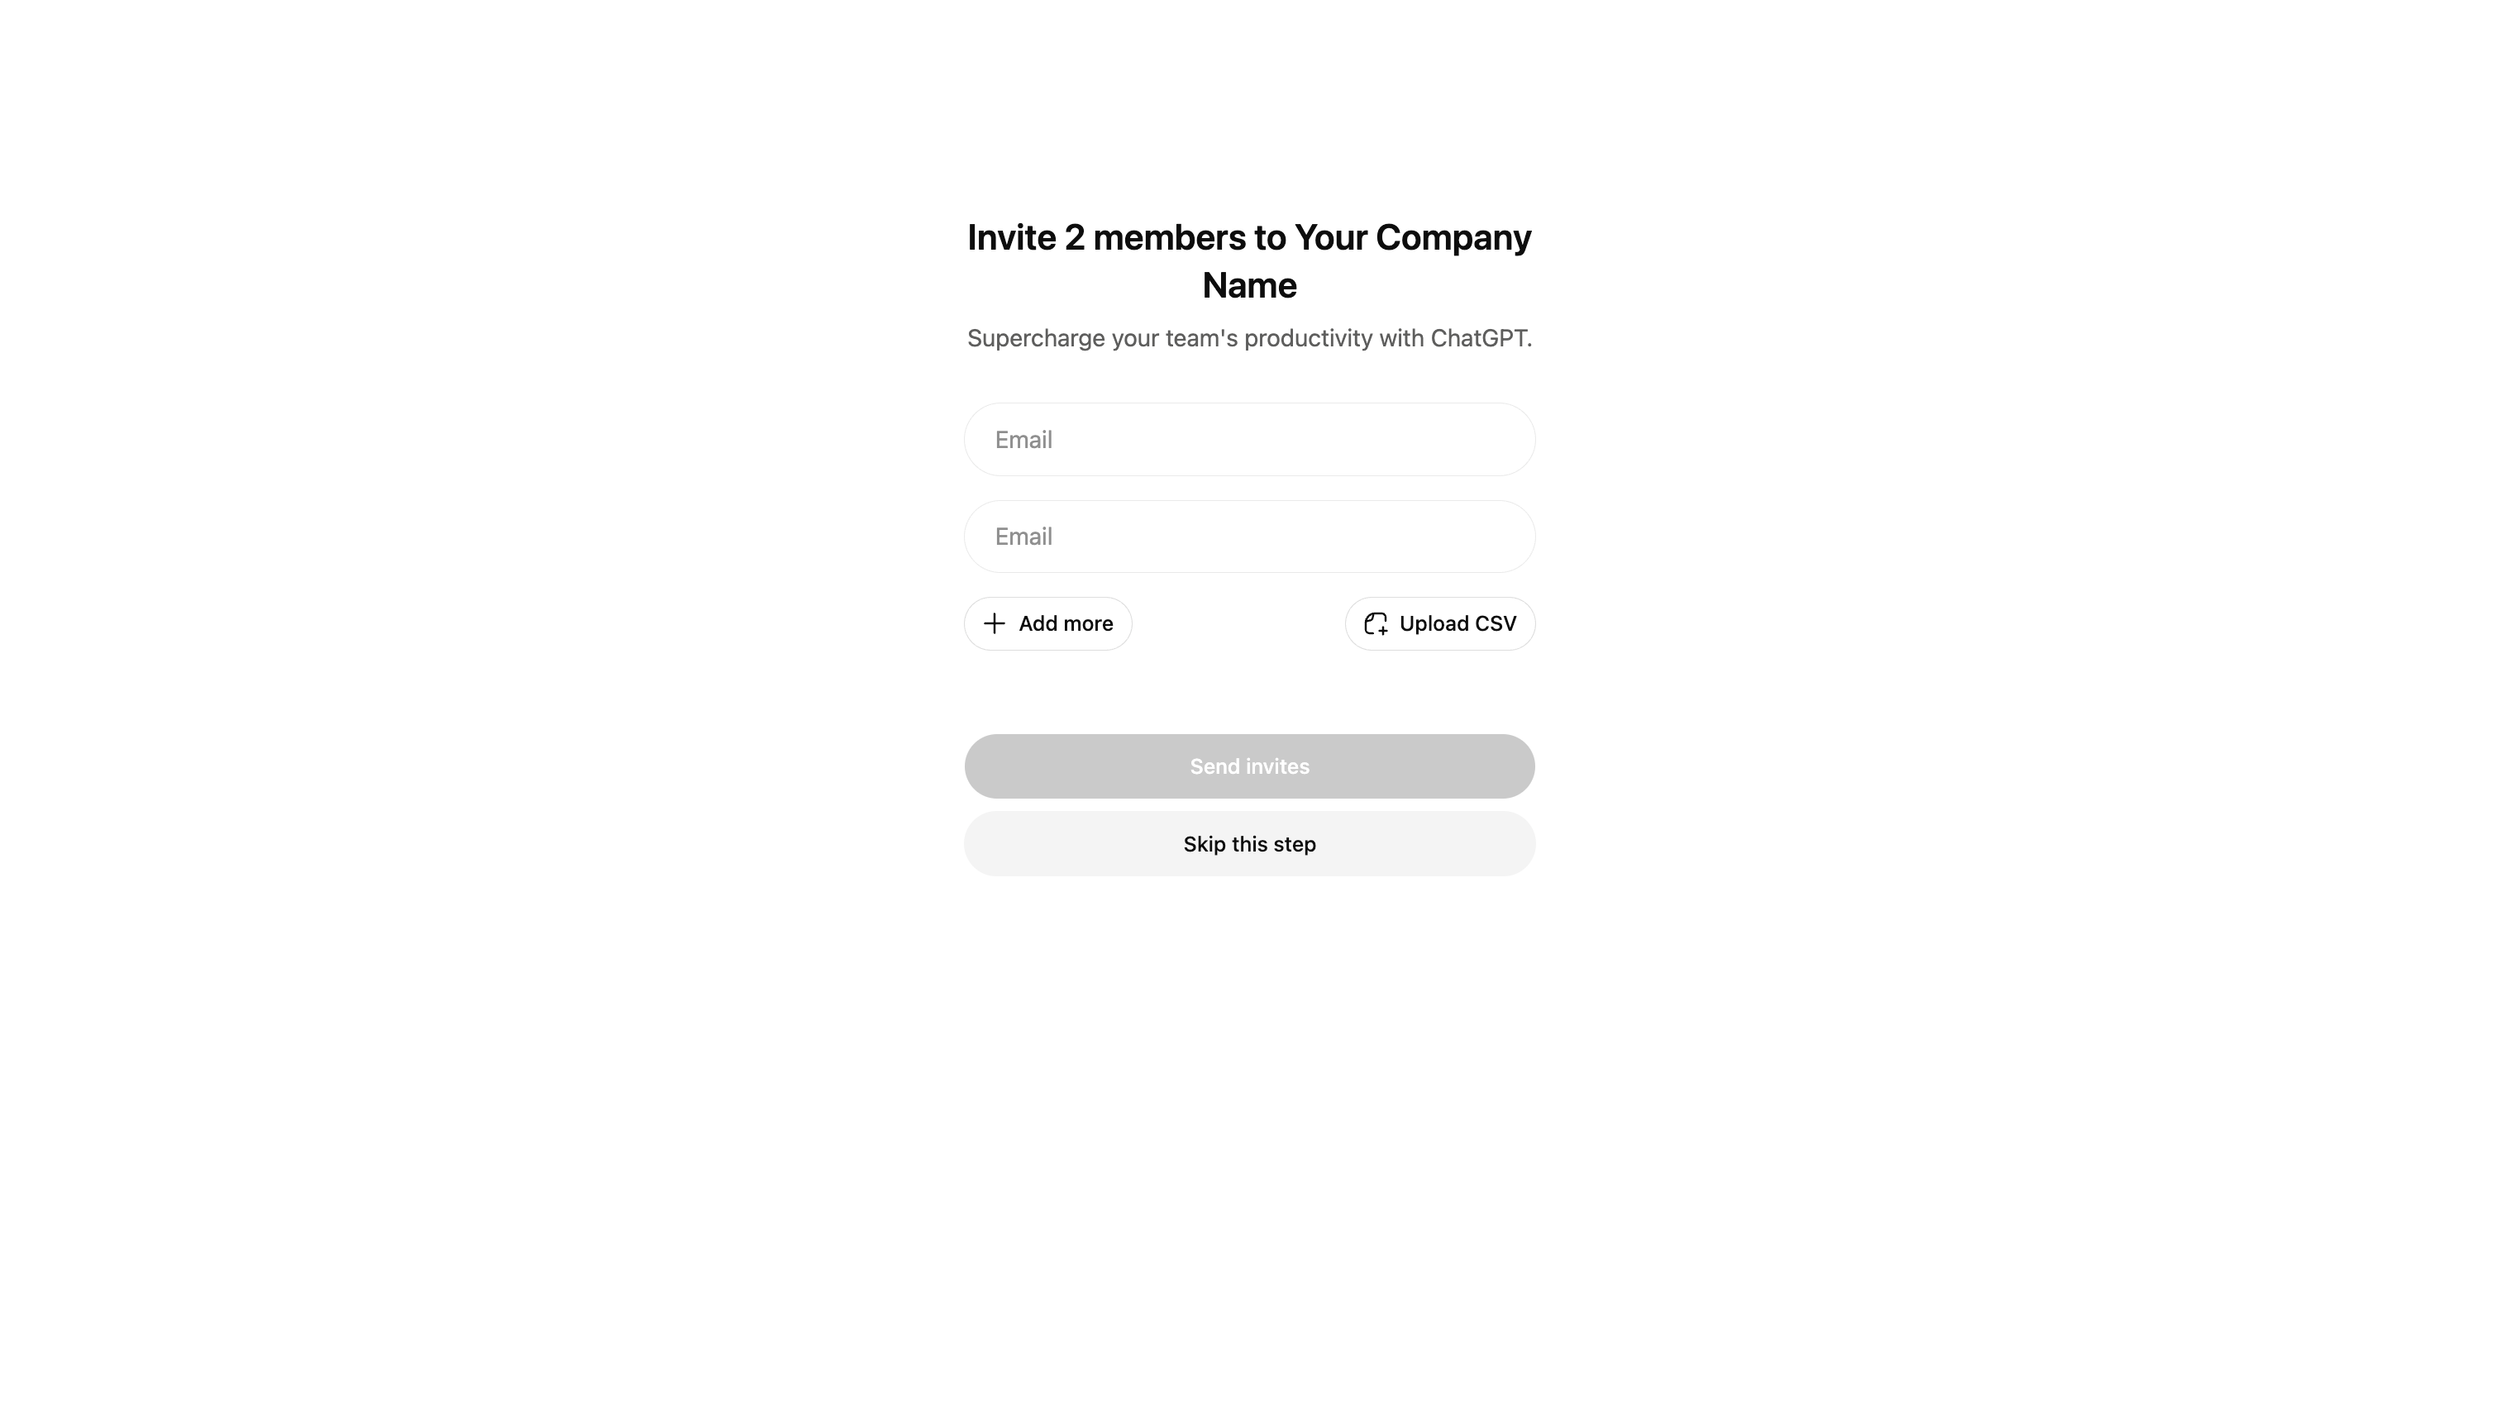
STEP 8: Add your other Team Members
NOTE: You can skip this and do it later, if you’re not ready to add others just yet.
Even though you might have only signed up for 2 users (and you will be one of them), ChatGPT gives you 2 email inputs. Just add your other user and click ‘Send Invites’.
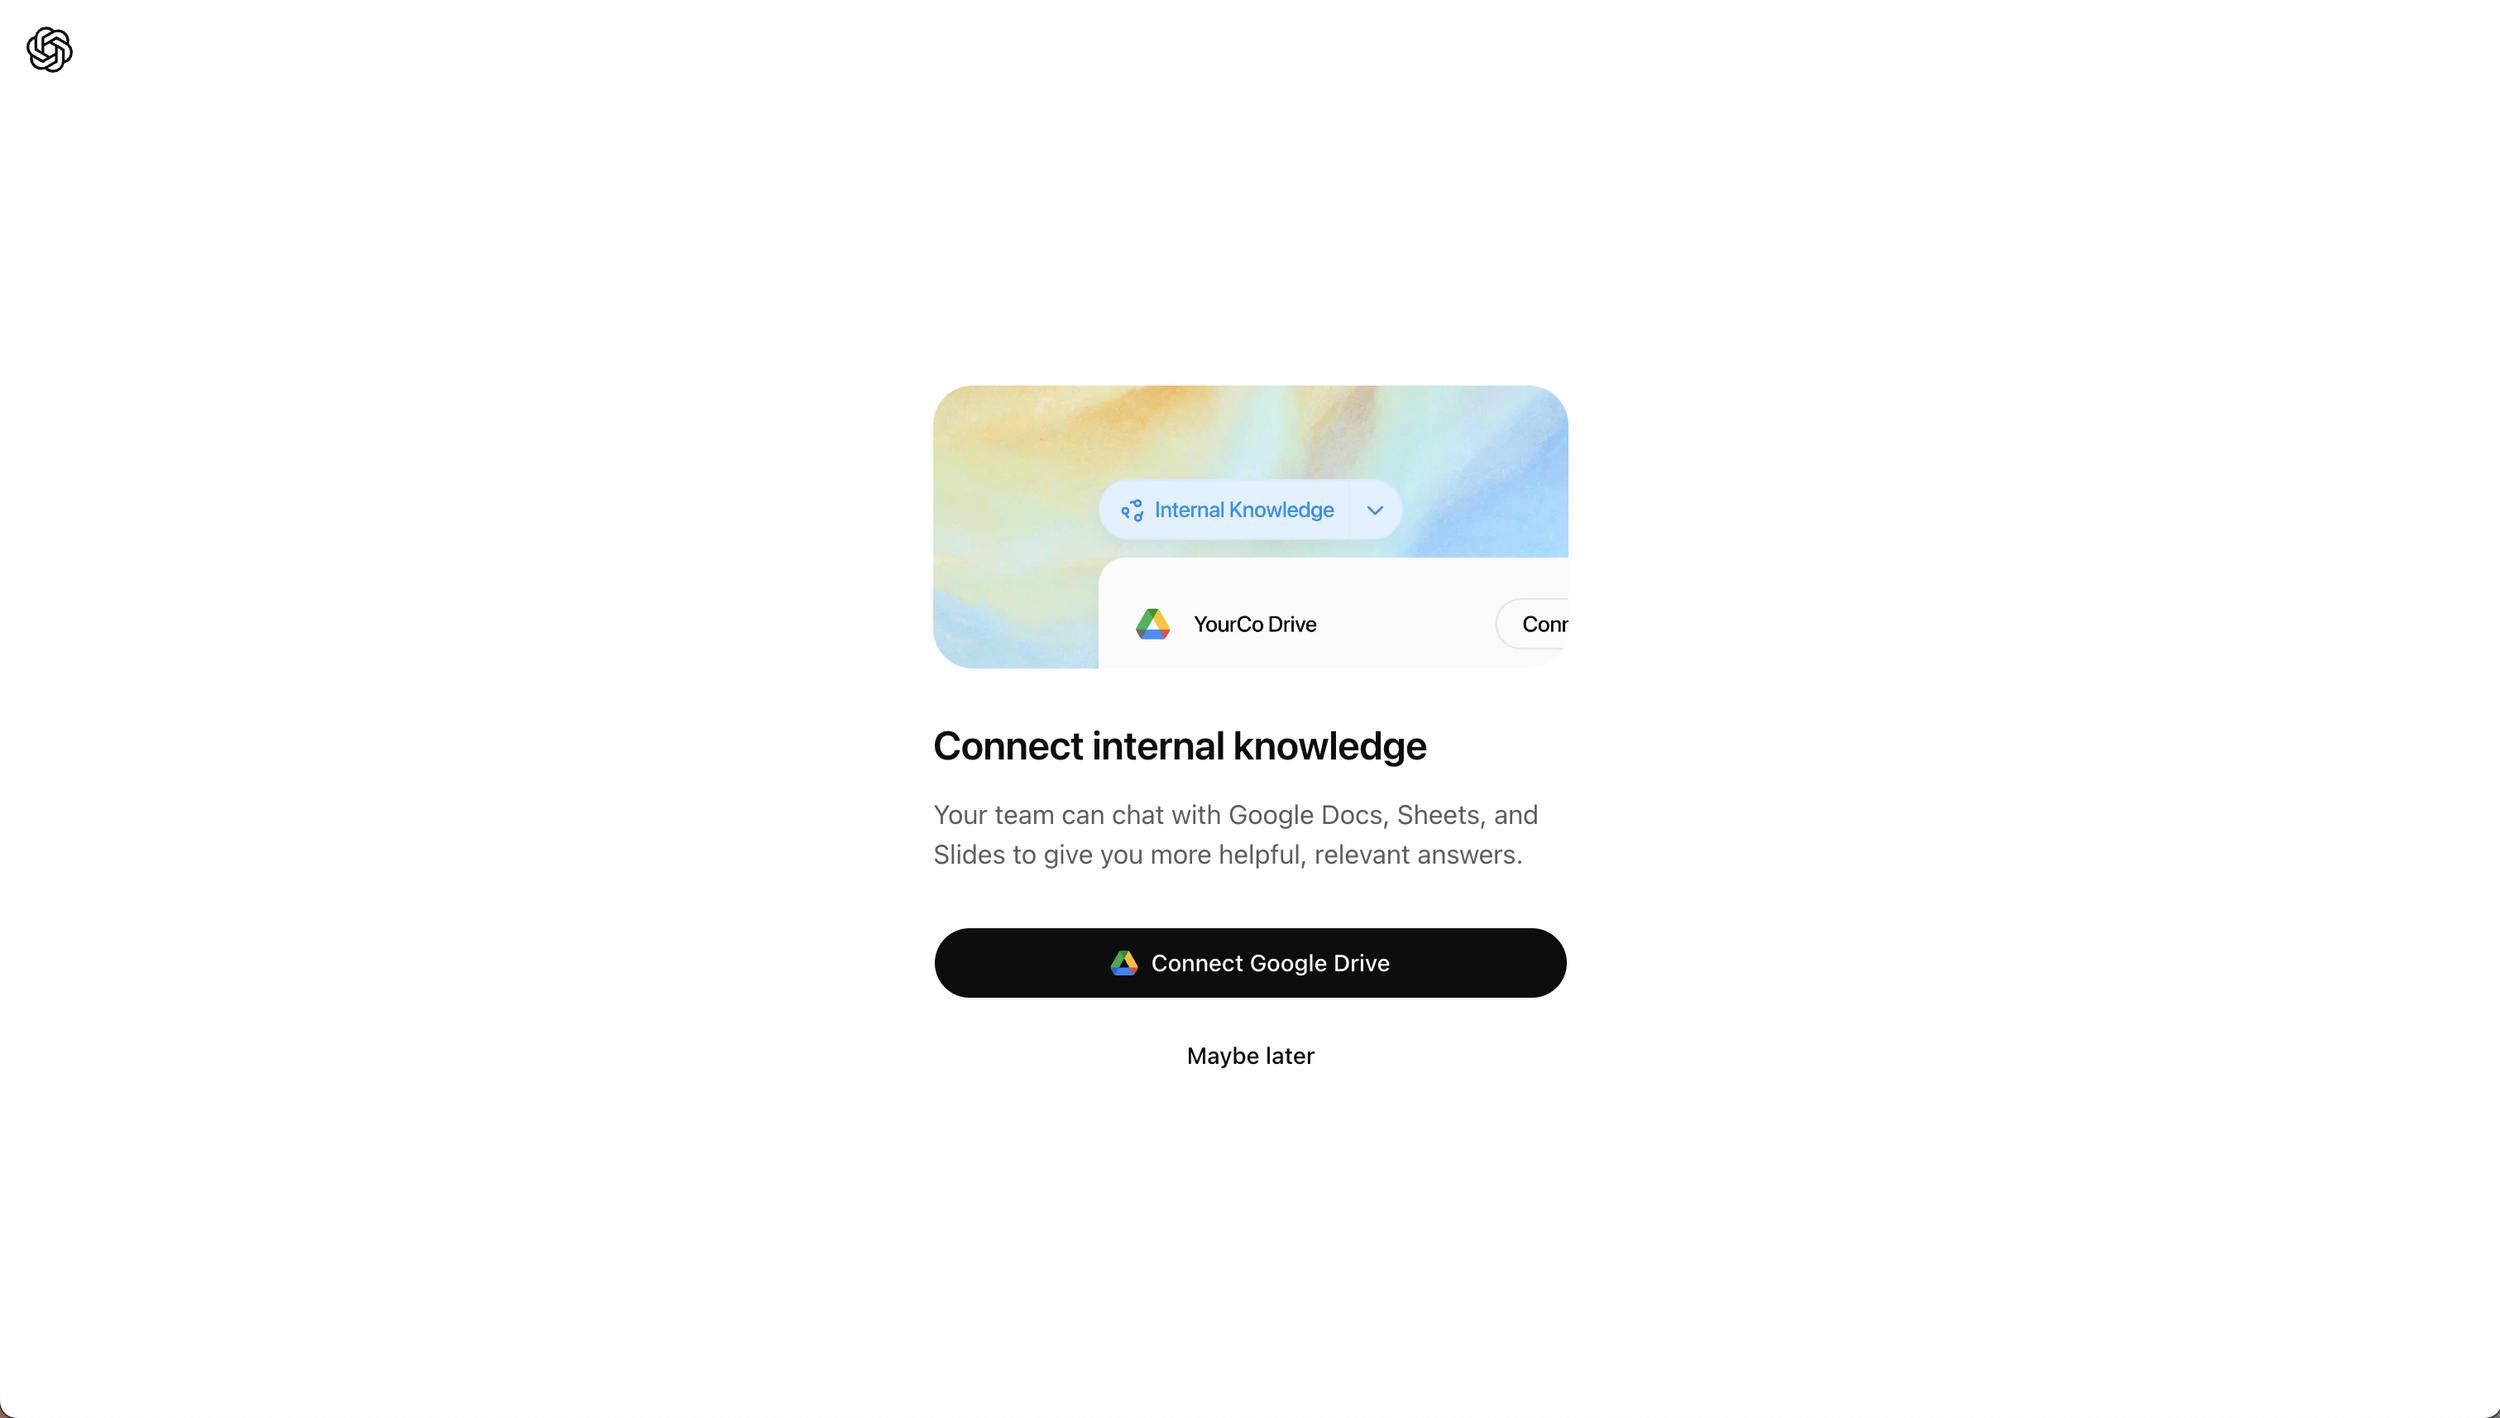
STEP 9: Connect your Internal Knowledge
NOTE: You can skip this and do it later, if you’re not sure yet.
ChatGPT can automatically decide when to use synced connectors like Google Drive to answer your questions, like “Find the deck from our last quarterly review” or “Summarise our 2026 go-to-market strategy.”
You can also explicitly ask ChatGPT to search your synced connector by including a prompt like “Search our Drive for...” or by toggling it on in the UI: Search connectors → Sources → Google Drive.
If you'd prefer ChatGPT not access your synced connectors for a particular question, you can include a prompt like “don’t search internally.”
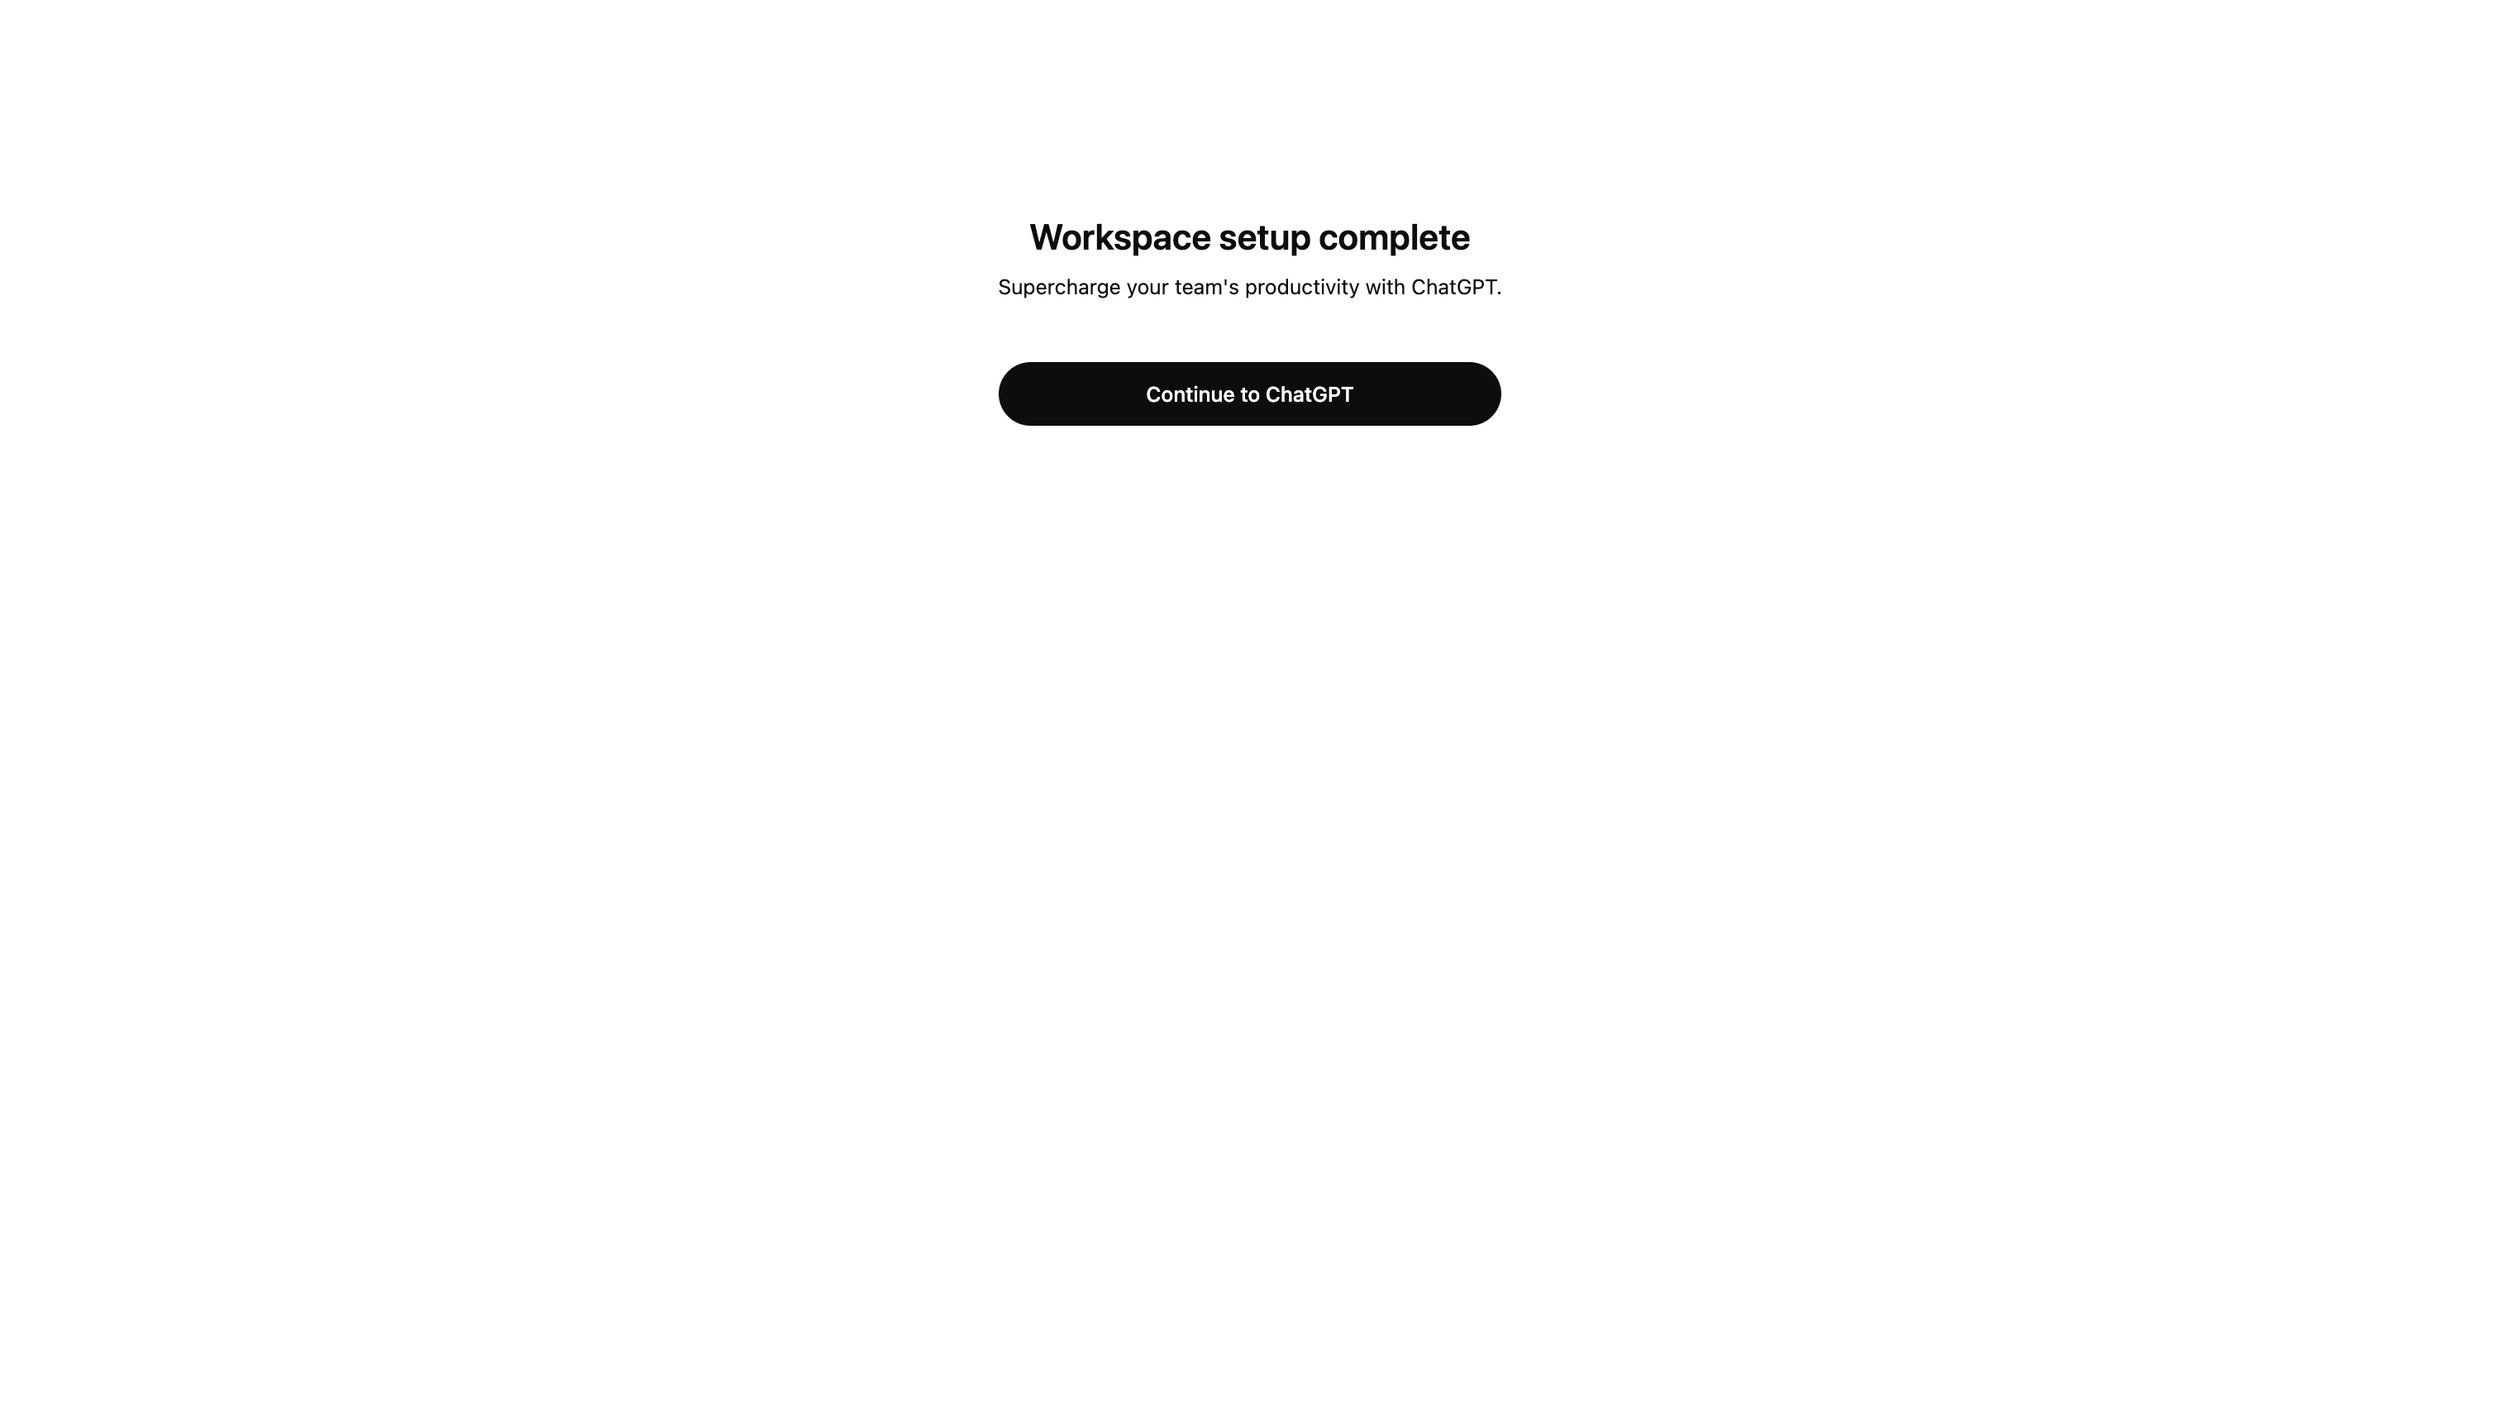
STEP 10: Do that little success dance one more time
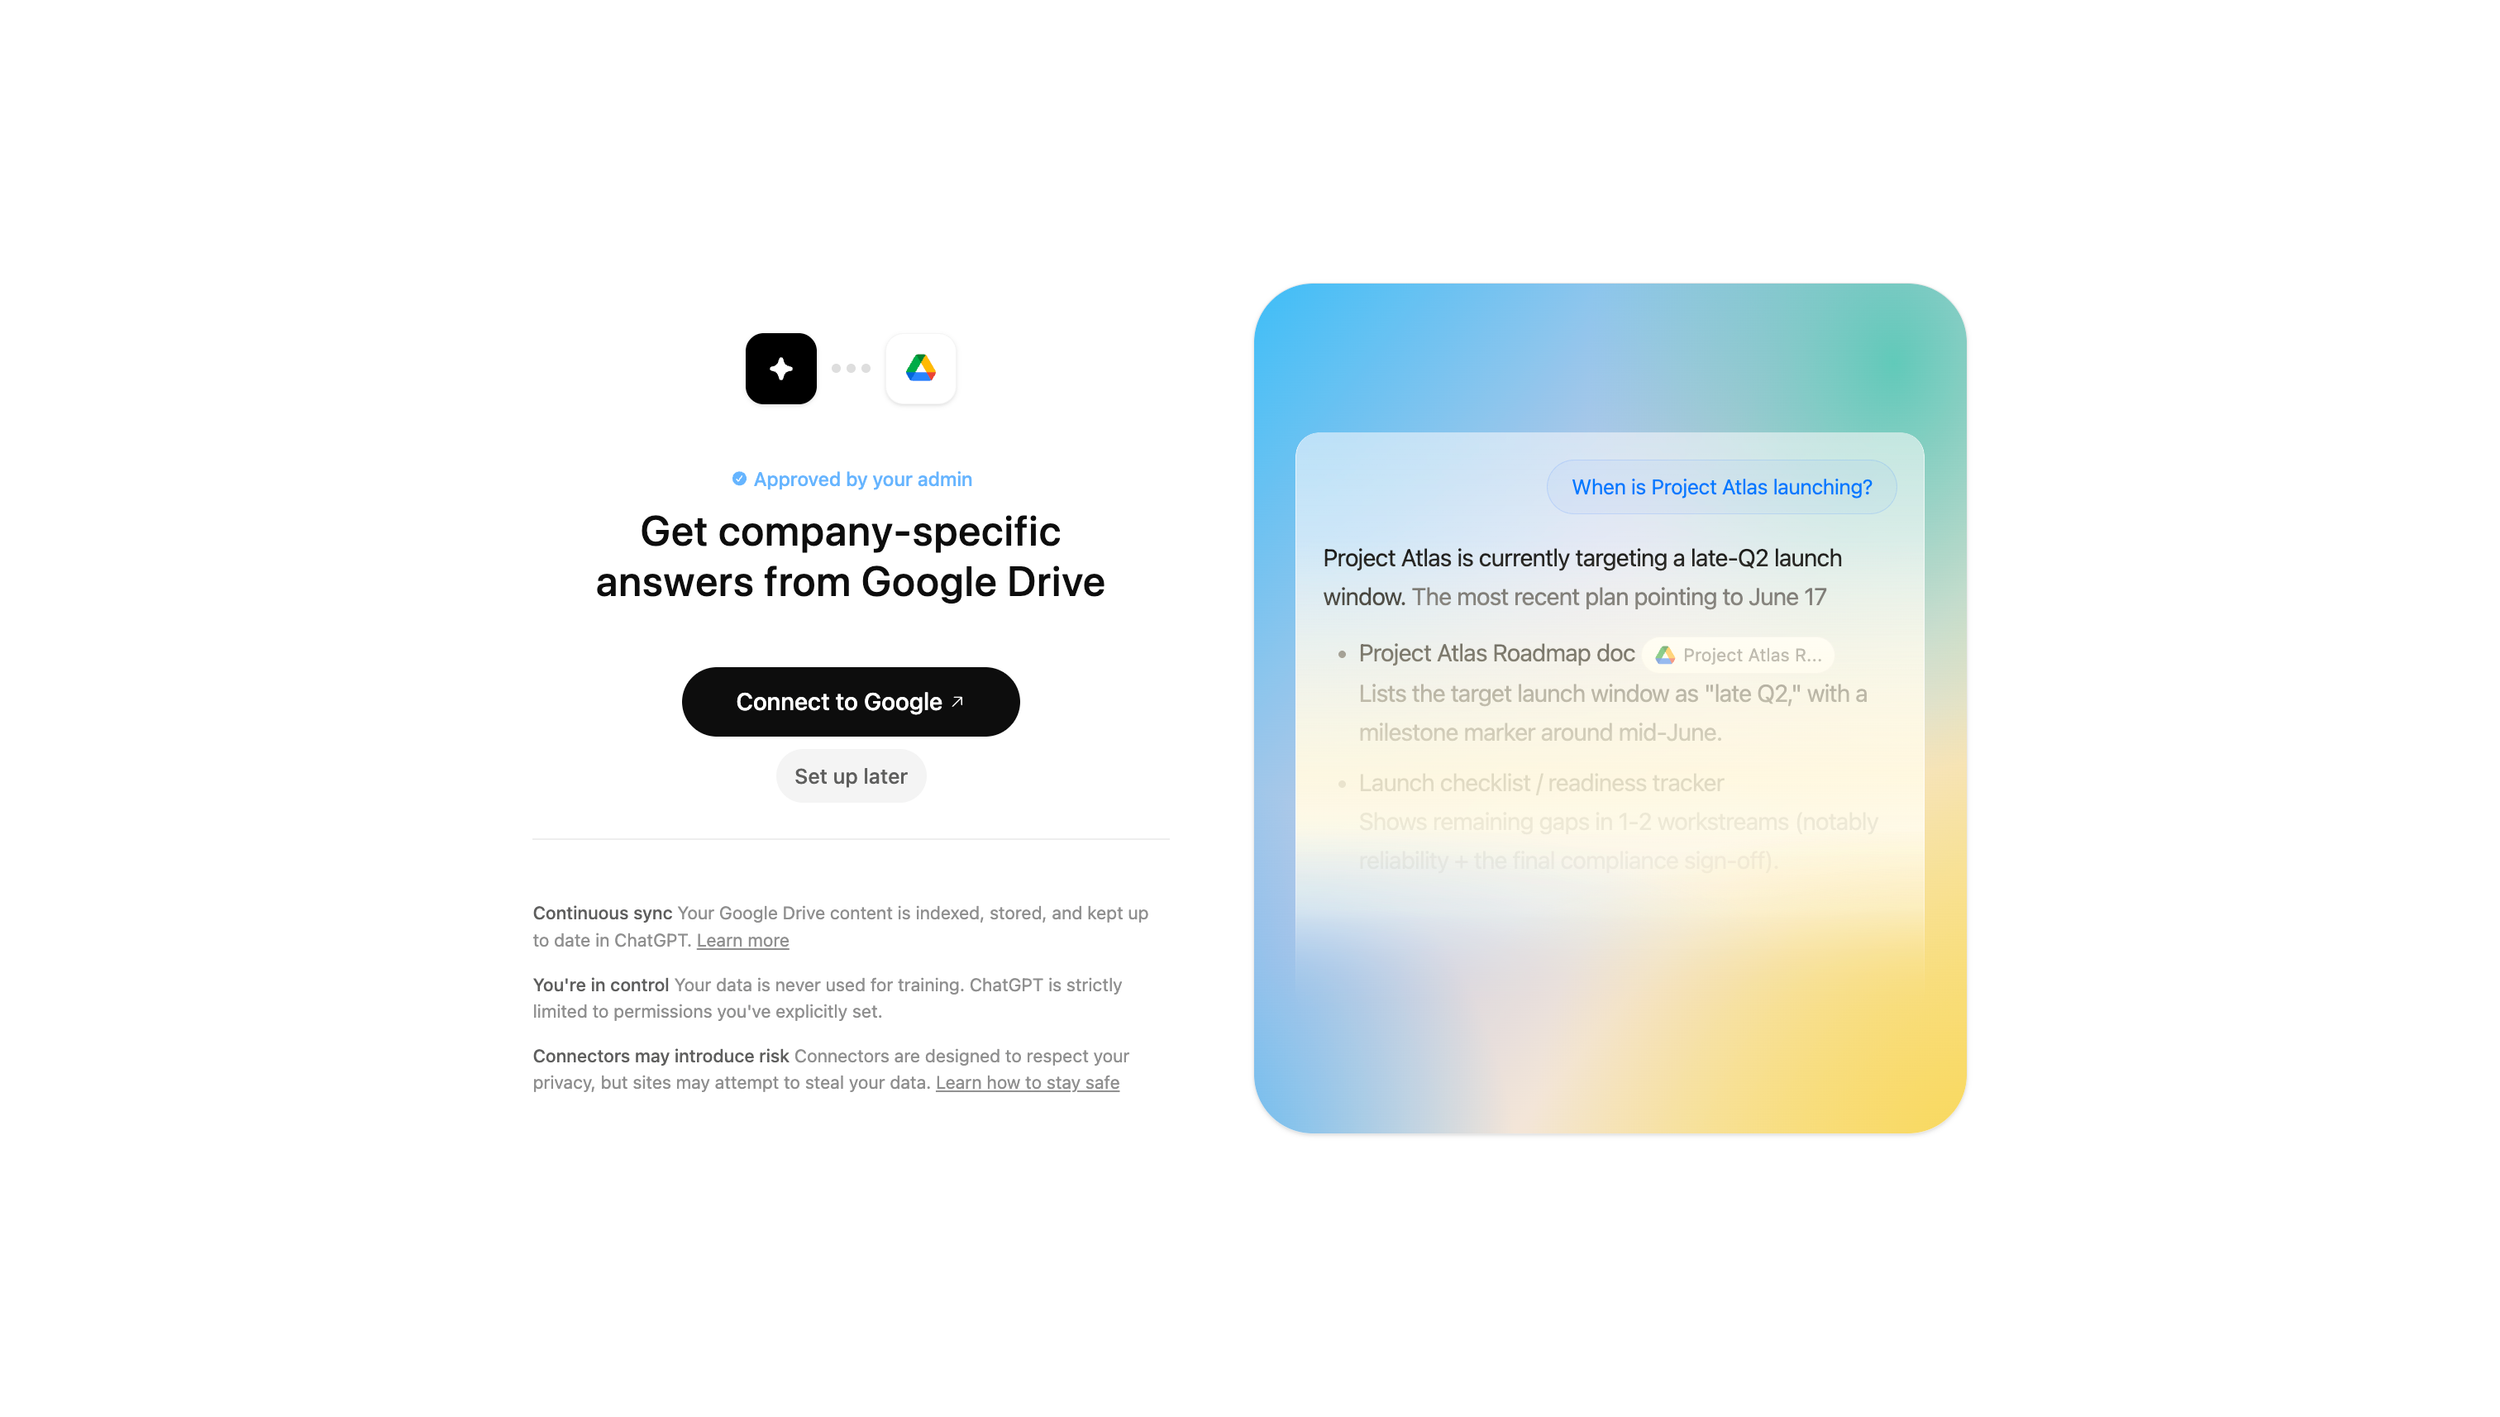
STEP 11: Setup Google Drive or setup later
NOTE: You can skip this and do it later, if you’re not sure yet.
STEP 12: Transfer your history or start fresh
NOTE: You can skip this and do it later, if you’re not sure yet.
If you upgraded an existing Free, Go, Plus or Pro account that you were only using for work, then you should ‘Transfer chat history and GPTs’.
If you were using your previous account on this email address for personal use and you want to keep it that way, or if you just prefer to start fresh, then select ‘Start as empty workspace’.
Either way your data will not be lost.
STEP 13: Sick of that little success dance Yet?
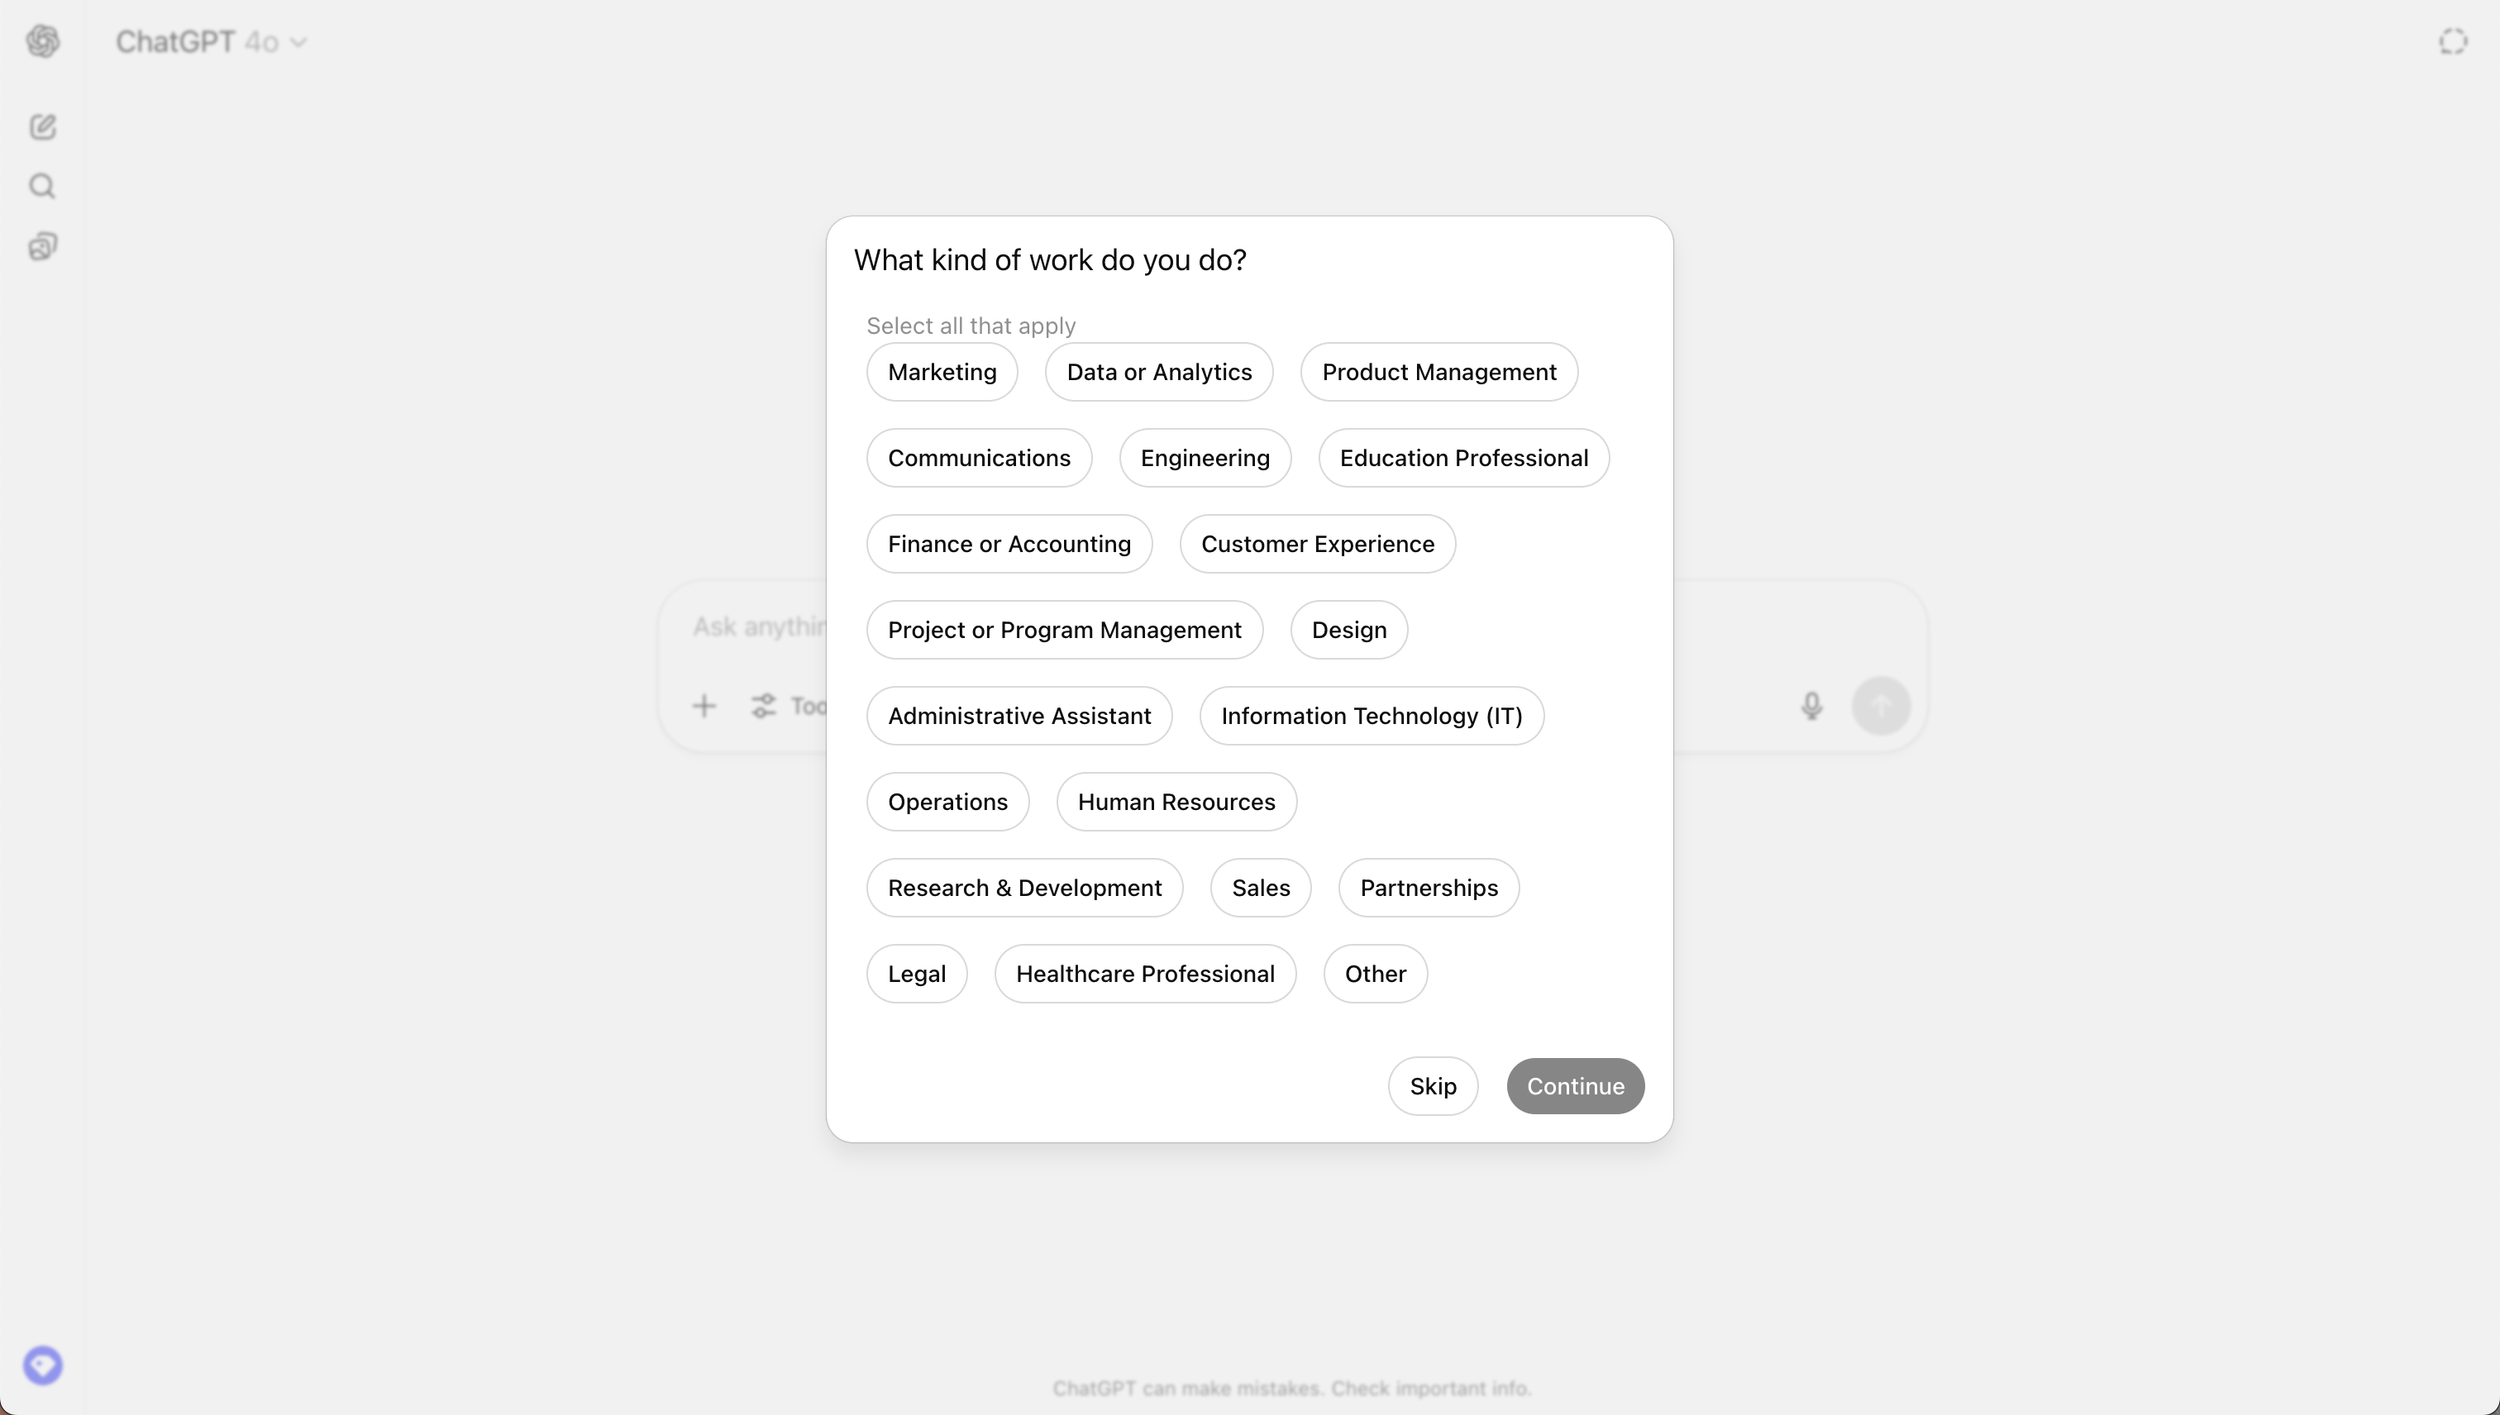
STEP 14: Marketing questions
Next you’re going to get a few questions that are purely for the ChatGPT Team to know who’s signing up.
Your answers here do not impact your experience, so feel free to skip.
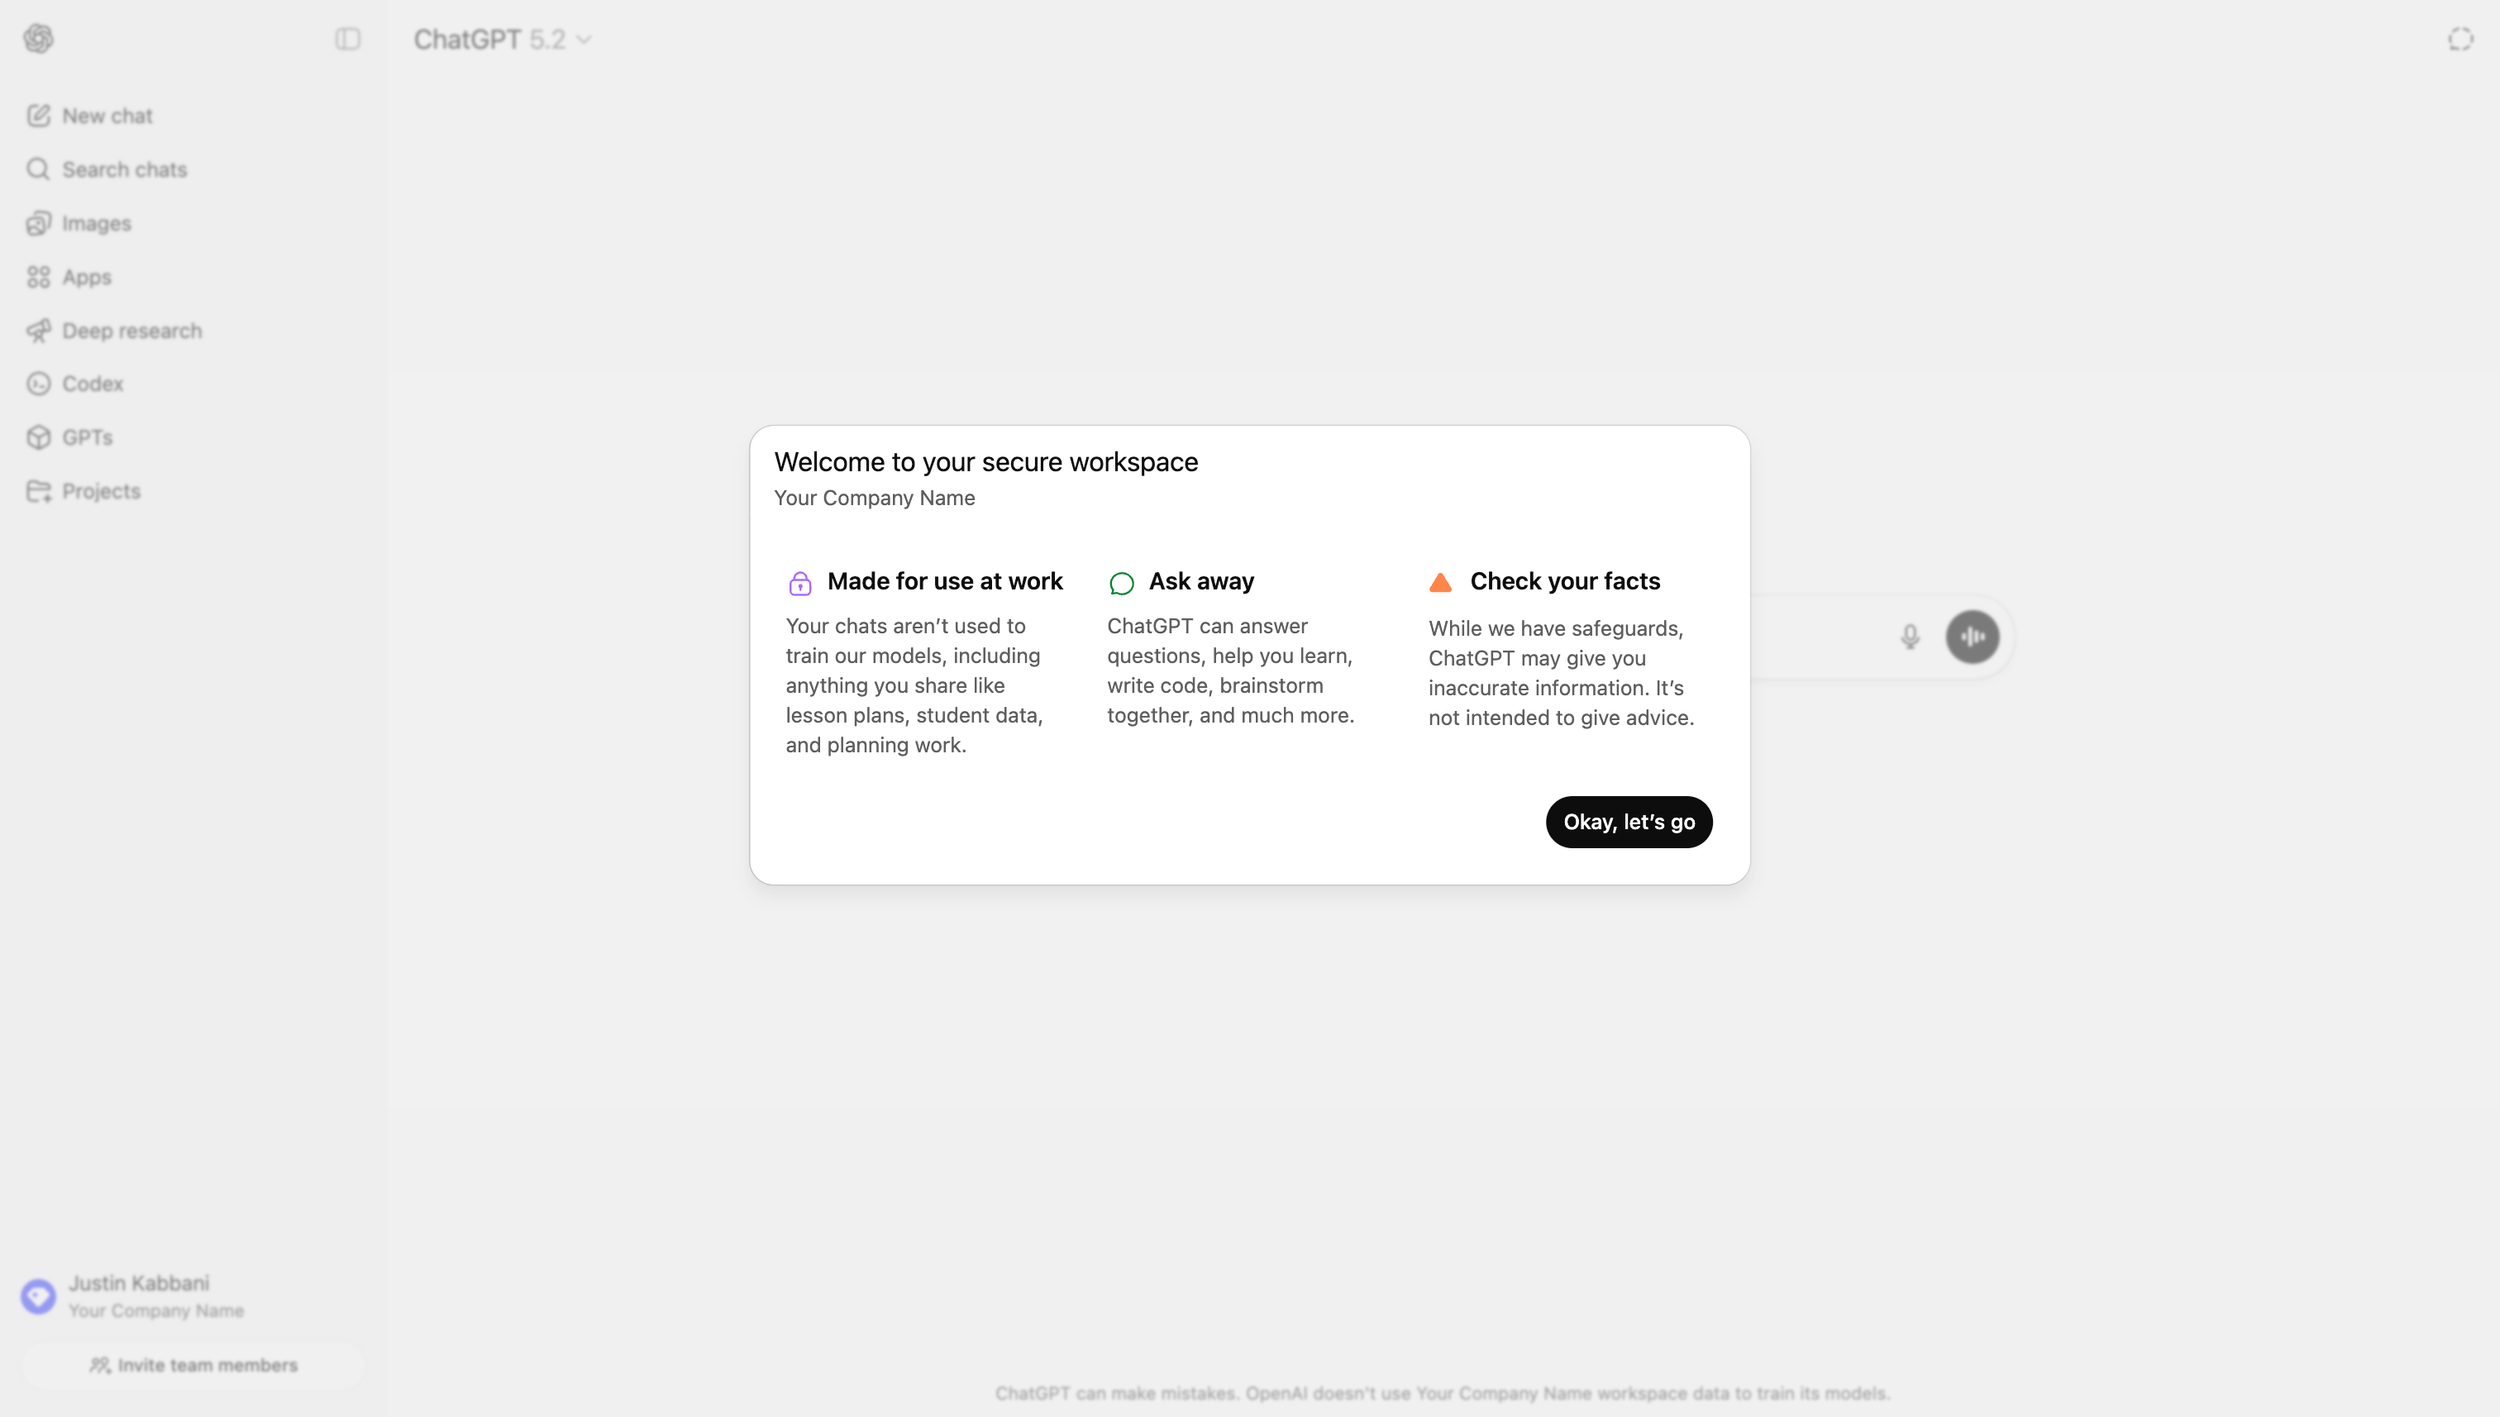
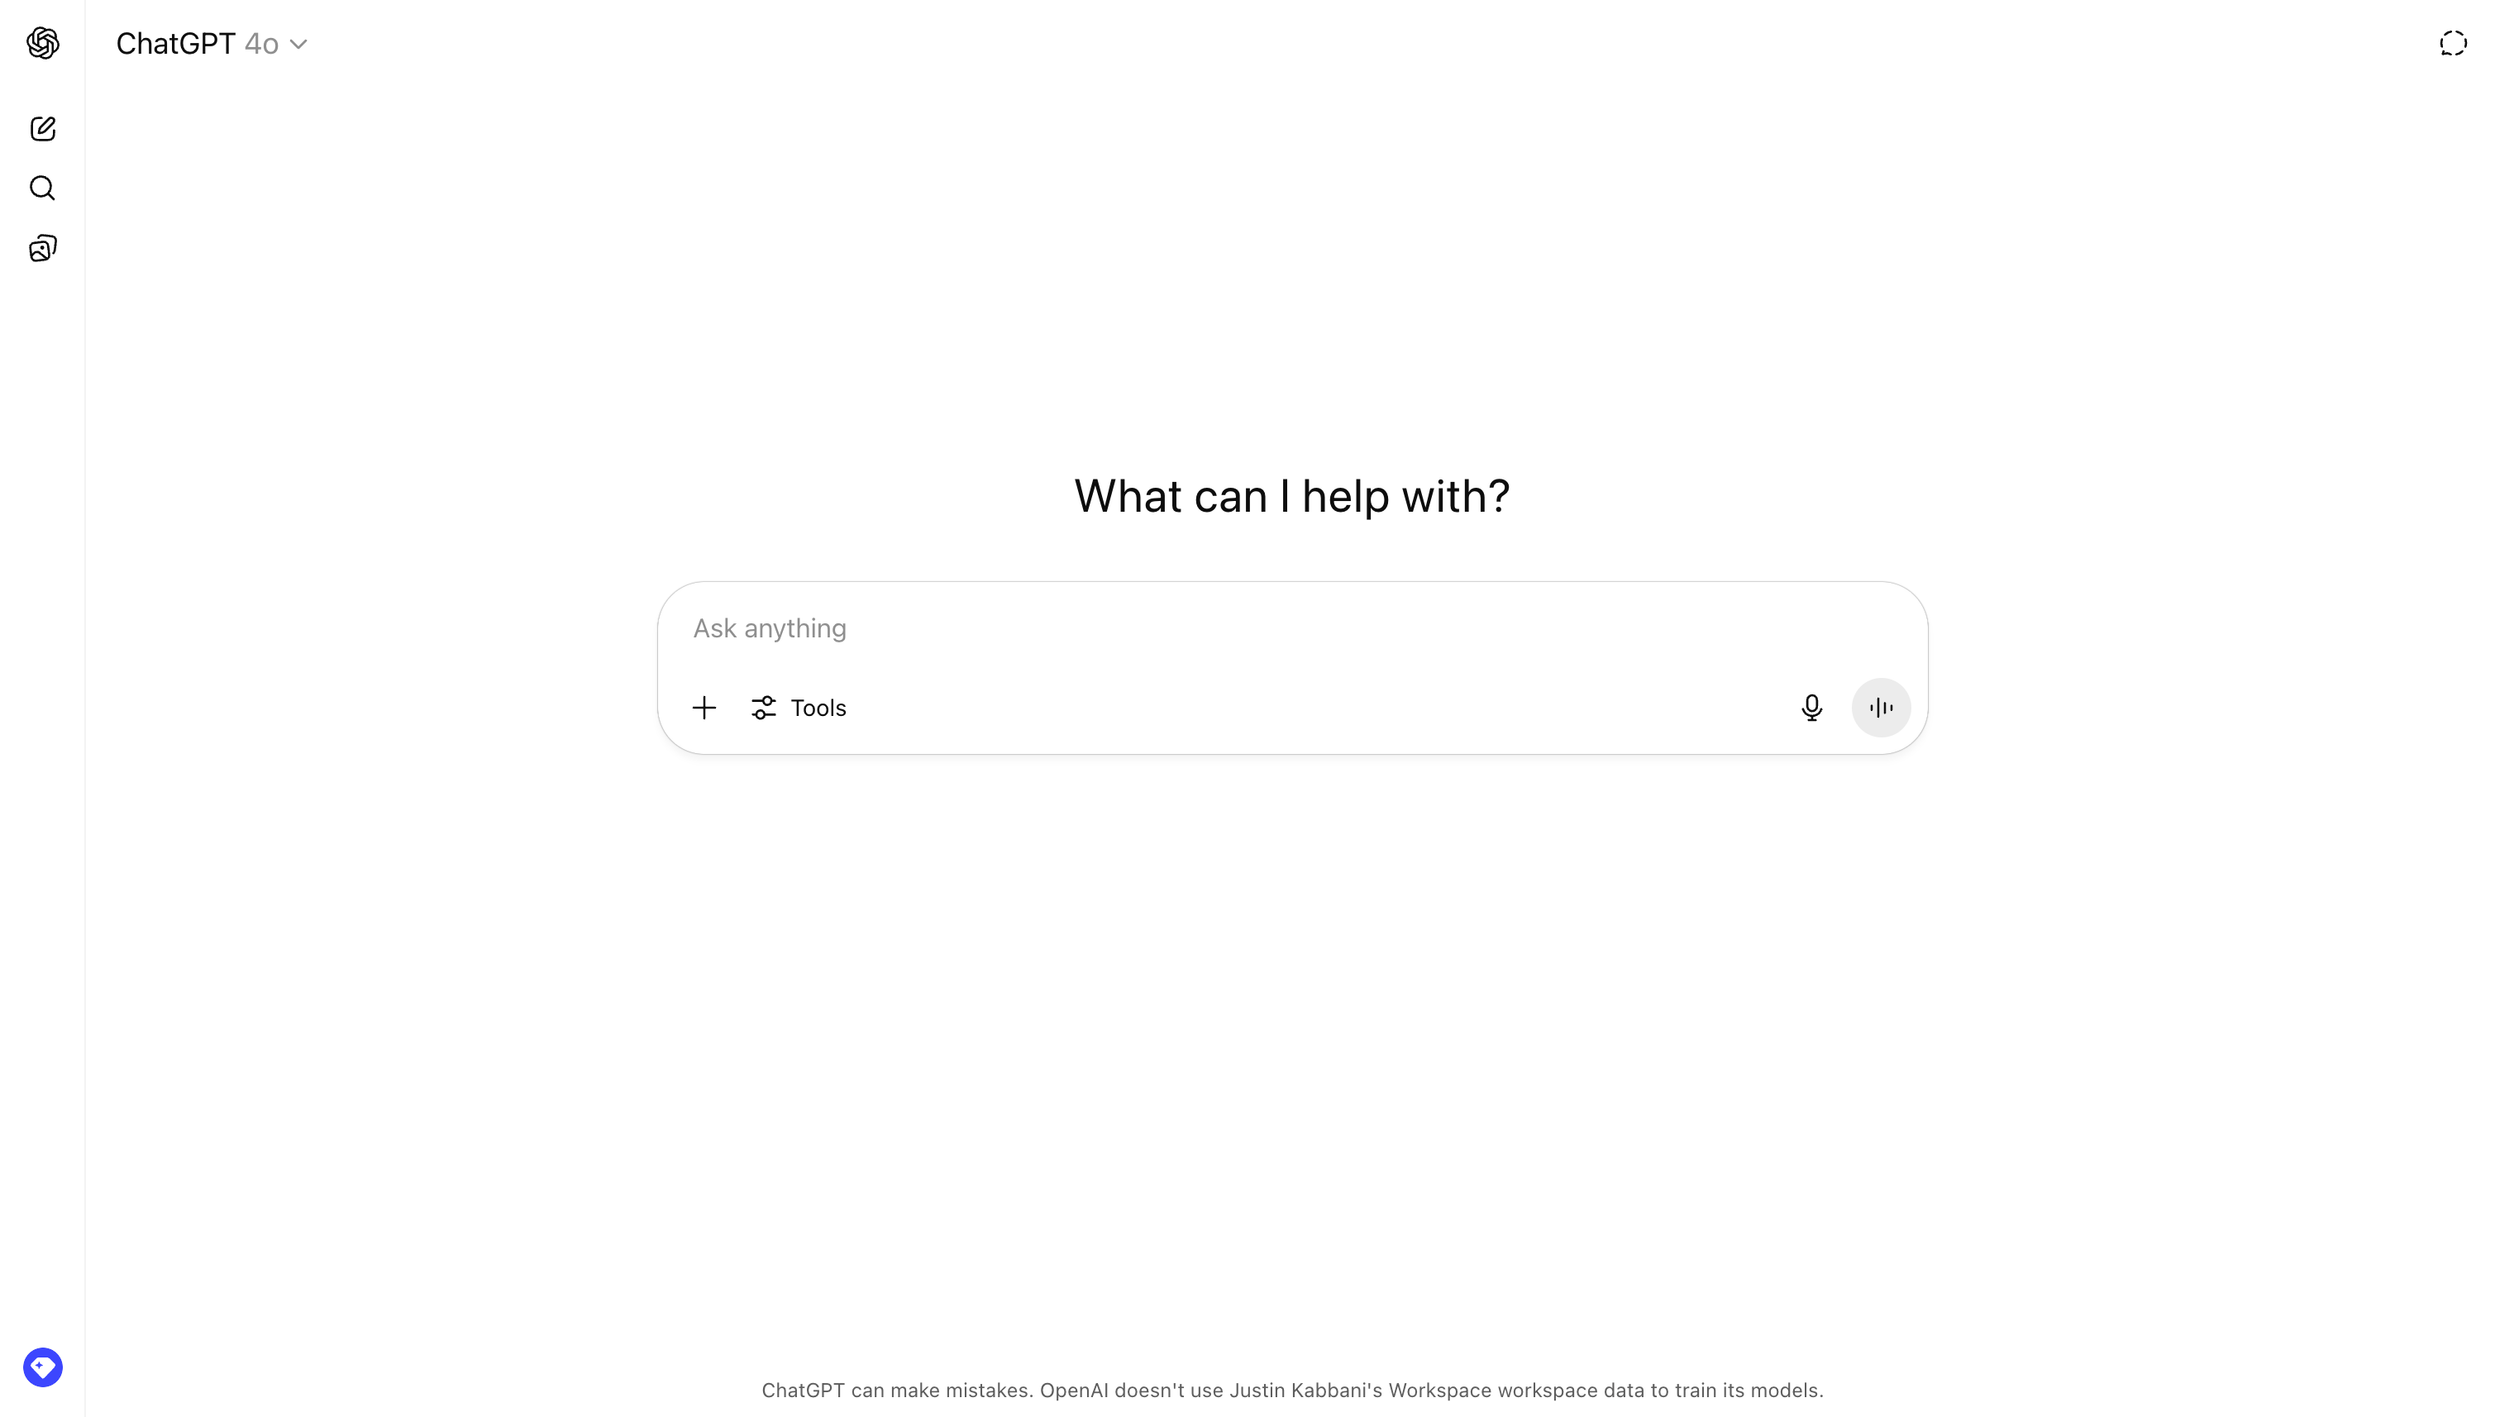
STEP 15: You’re in!
You may receive one or tow more pop-ups about other features, but we’ll cover them in the Configure section.
Look at the bottom of your ChatGPT screen. now you will see: “ChatGPT can make mistakes. OpenAI doesn't use <your workspace name>'s Workspace workspace data to train its models.”
“I focus on a balanced approach where AI enhances, not replaces, human input, fostering a culture of trust and collaboration.”
—Justin Kabbani
